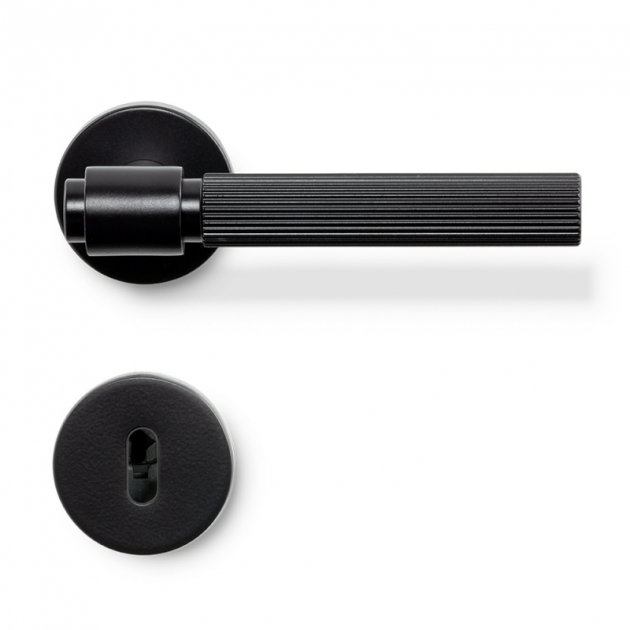
Door handle Helix 200 Stripe - European standard - Matt Black
752010-41EThe door handle is available in several different finishes. The door handle and keyplate fit to doors that are 35–48 mm deep.
Choose between products that fit doors with modular locks or lock chests in Scandinavian or European standard
Door handles Sintra are available for doors with modular locks (lock housing 565 or similar) or lock chests in Scandinavian standard (lock chest 2014 or similar) and European standard (cc38mm).
Standard key plate and complete assembly kit are included.
See more under product information.
- Specifications
-
Article depth: 65 mm Article diameter: 52 mm Article length: 150 mm Article width: 52 mm Material: Aluminum - Care instructions
- Assembly and Installation
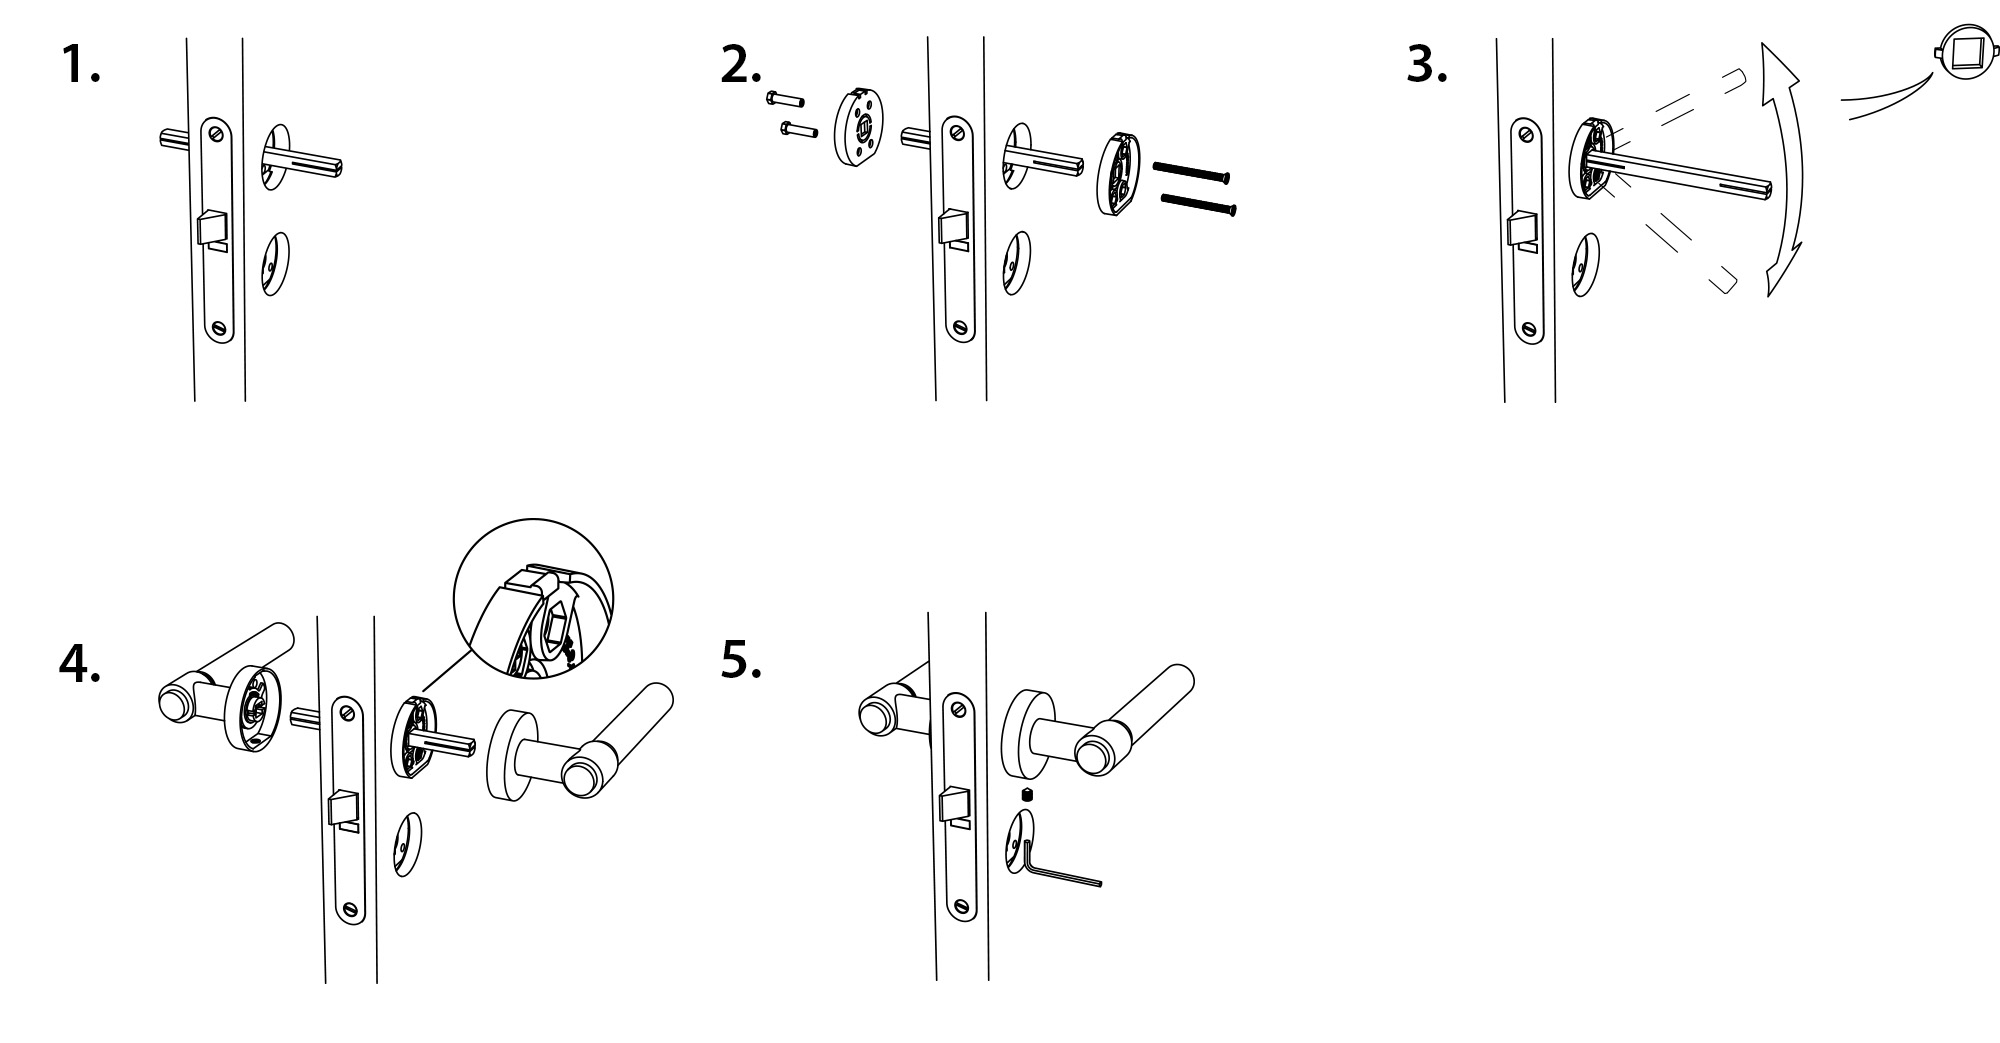
Installation of door handle

1. Center square spindle in the lock.
2. Fasten the mounting plates with the included screws and caps.
3. Remove the square spindle and use it to the guiding plates located in the center of the mounting brackets.
4. Recenter the square spindle. Ensure that the spindle is placed so that the jagged surface is facing the socket set screw in the handles. Press the handles firmly until they click into place on the top of the mounting plates.
5. Tighten all four socket set screws using the included hex keys. The smaller socket set screws should be installed in the rosettes, while the larges ones should be mounted in the handles themselves.
Installation of key escutcheon

1. Fasten the mounting plates with the included screws and caps.
2. Press the outer parts until they click into place on the top of the mounting plates.
3. Tighten the socket set screws using the included hex keys.
See the full installation instructions here.-
-
-
-
-
- Material and Finish
- Documentation
- Installation manual
- Product sheet


