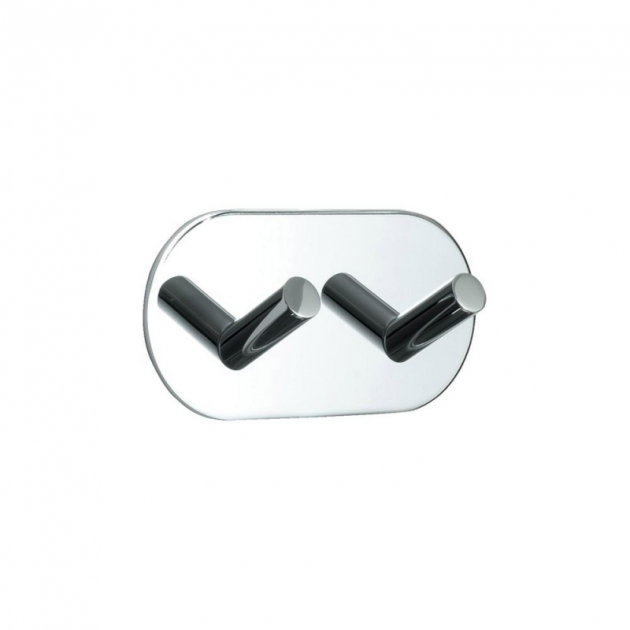
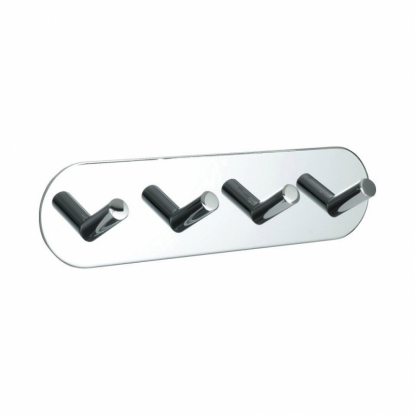
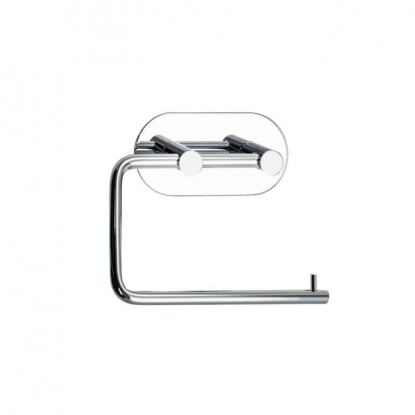
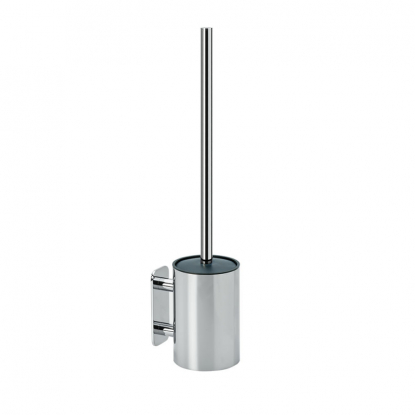
Base 100 - 2 Hook - Polished Chrome
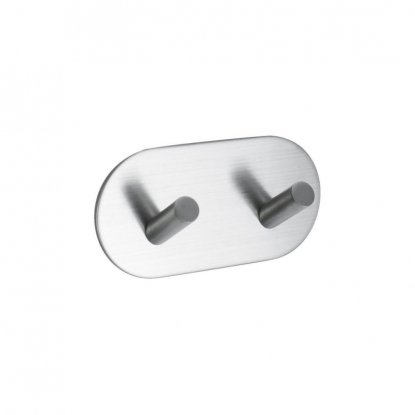
60407-21All products in the Base & Solid series have a self-adhesive backing. Easy to mount without drilling. Made of solid stainless steel. Base 100 is available in the designs brushed stainless and polished chrome.
Attached to permanent smooth surfaces such as tiles, lacquered or veneered board material etc. It is not advisable to attach the products to uneven/rough surfaces where the tape does not get full contact or surfaces that can slide as for example the wet room wallpaper. On newly tiled walls, it is important that the surface is cleaned thoroughly so that no joint film remains on the mounting surface.
In case of uncertainty consult a professional.
Mounting instructions
- Clean the substrate thoroughly and allow it to dry. (The detergents shall not contain oil)
- Remove the protective film.
- Apply the product by pressing it against the substrate for 10 seconds.
- For the best results, allow the glue to harden for 24 hours before use.
When cleaning the product, use a clean, damp cloth.
- Specifications
-
Article depth: 30 mm Article length: 96 mm Article width: 48 mm Finish: Polished chrome - Care instructions
Care advice for our bathroom accessoriesWhen cleaning the product, use a soft, clean, and slightly damp cloth to avoid scratching or damaging the surface. Rinse or wipe with water and dry thoroughly. Stubborn dirt or deposits can be removed with a mild cleaning product. It is important to use a mild and pH-neutral detergent. Do not use strong detergents or cleaners containing abrasives as they may damage the surface.
Follow our recommended weight limits to avoid overloading and ensure long-term performance.- Assembly and Installation
Installation of bathroom accessories with 3M tape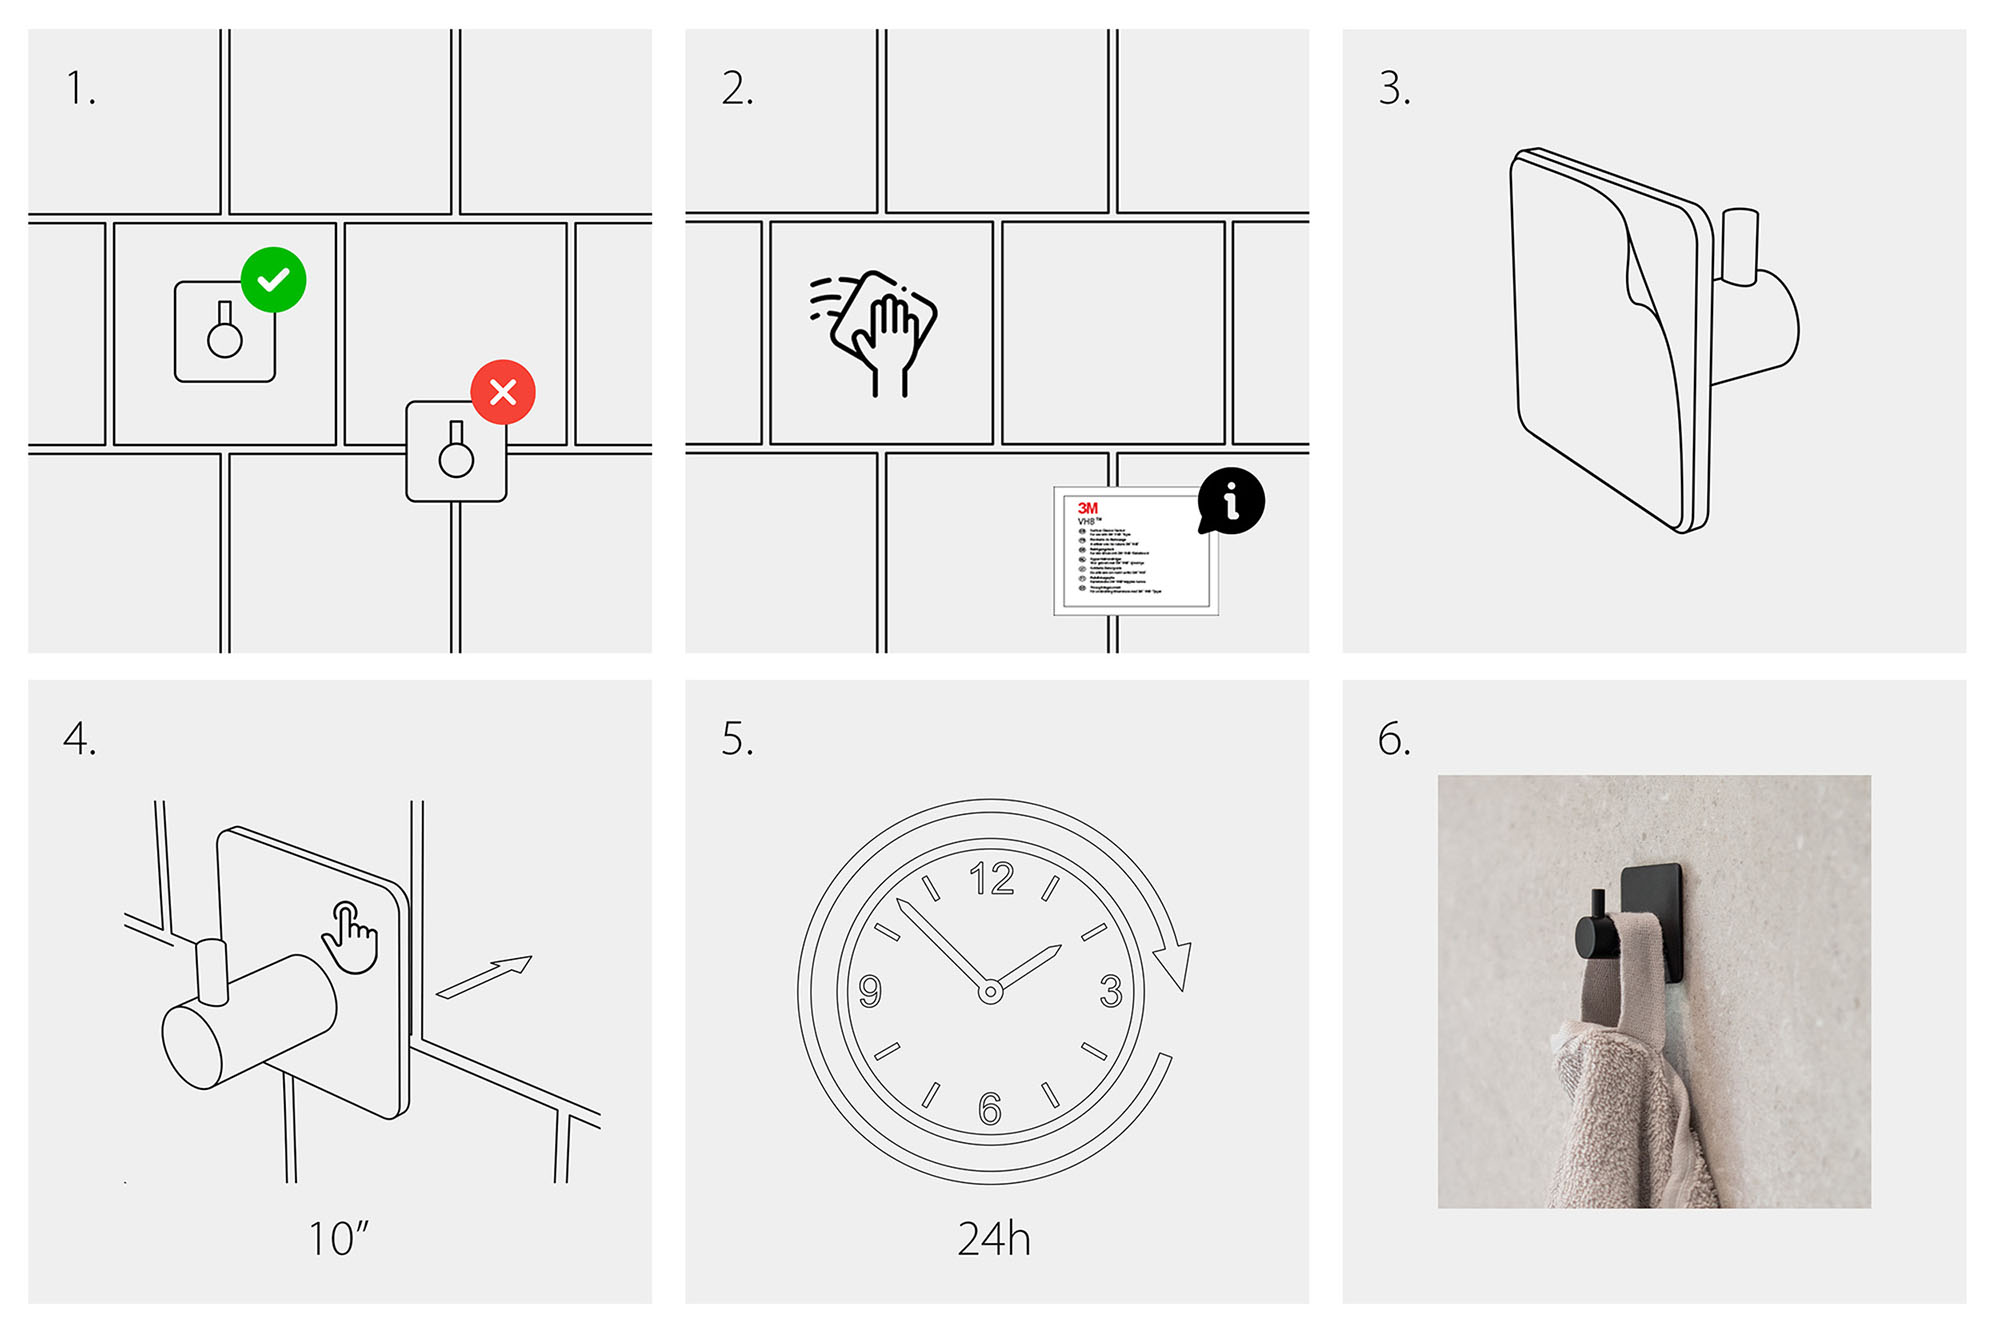
1. Choose a smooth surface for installation and determine the placement of the product. Mark it appropriately to ensure a straight and symmetrical placement.
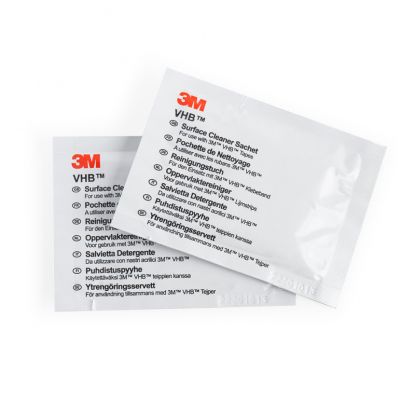
2. Thoroughly clean the surface to remove any oil and dirt, and let it dry. Use our surface cleaning wipe to effectively remove dirt and grease, ensuring an optimal bonding surface for the 3M products. To remove any lime, grime etc., other detergents suitable for the surface may be needed. Avoid detergents that contain oil. If you are unsure about your specific surface, consult a professional.
3. Remove the protective film by gently peeling it off from the back of the product.
4. Apply the product by pressing it against the surface for 10 seconds.
5. Let the glue harden for 24 hours before subjecting the product to any load for optimal adhesion.
6. The product is ready for use after 24 hours.
Not suitable for uneven surfaces or over a jointThese products are suitable for attachment to durable smooth surfaces such as tiles, lacquered or veneered board materials, etc. It is not advisable to attach the products to uneven/rough surfaces where the tape does not get full contact or surfaces that can slide as, for example, wet room wallpaper. On newly tiled walls it is important that the surface is cleaned thoroughly so that no joint film remains on the mounting surface. We do not recommend attaching the products over a joint, as the individual tiles may have different angles or levels. In case of uncertainty consult a professional.
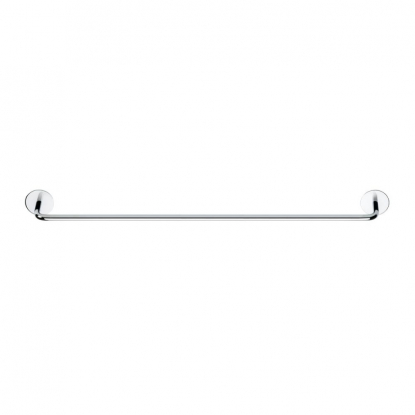
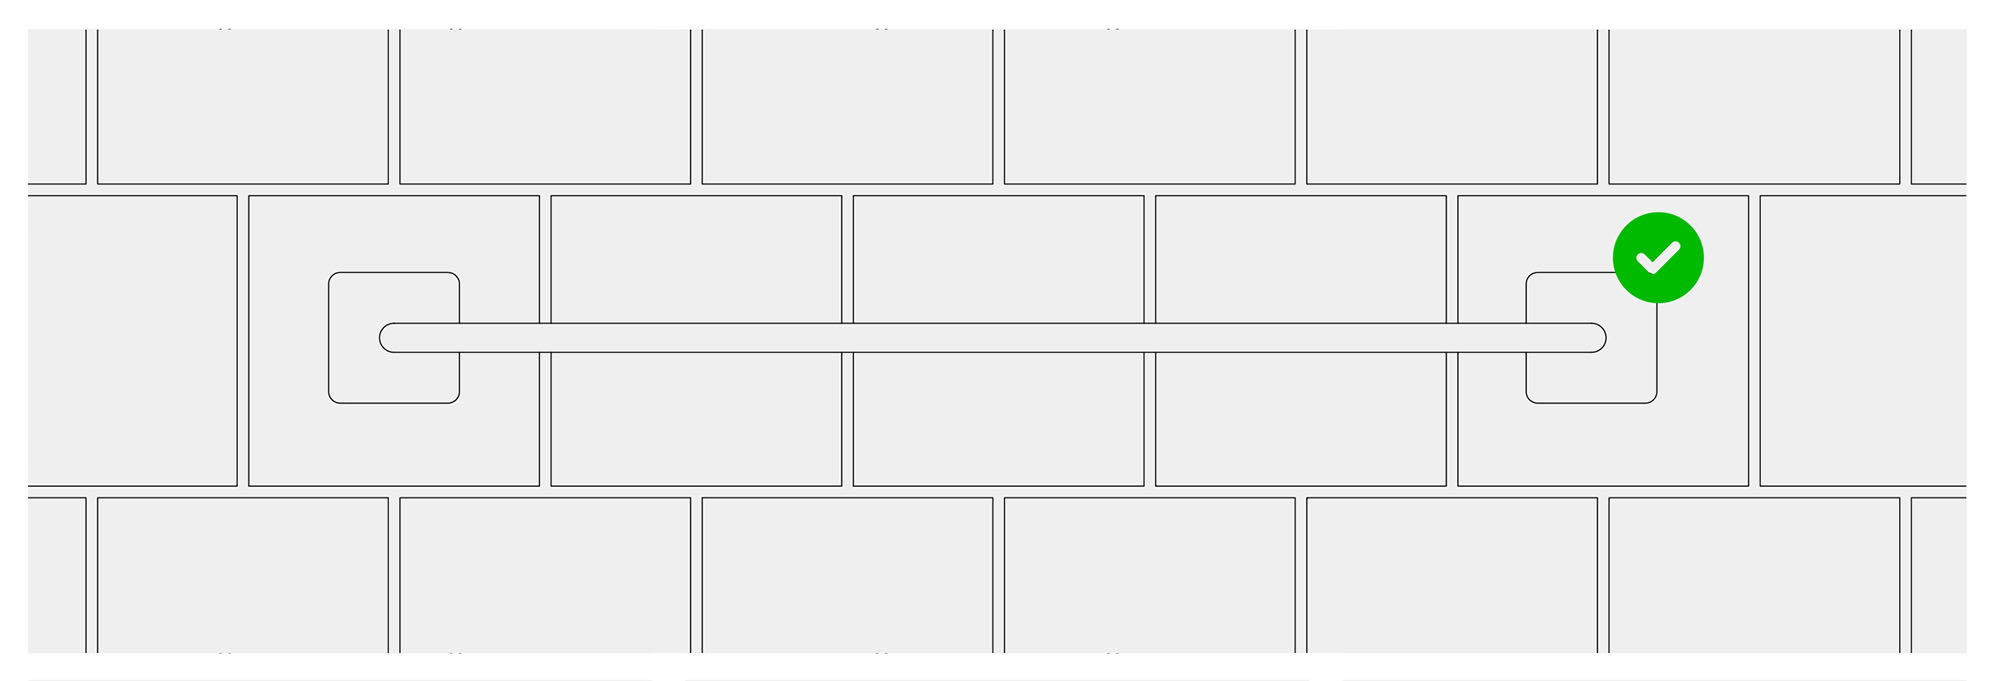
Things to consider when installing our towel railTo ensure the towel rail is mounted correctly, it is important that the various mounting plates are installed on tiles that are at the same level and angle. Since tiles are often set in adhesive manually, they may be slightly uneven. Therefore, carefully check that the tiles are even before installing the mounting plates to ensure a straight and stable installation.
See the full installation instructions and read our care instructions here.-
-
-
-
-
- Material and Finish
- Documentation
Here you can browse digitally or download documents with guidance and information. O&M documentation for the Base bathroom series
- Installation manual
- Product sheet

