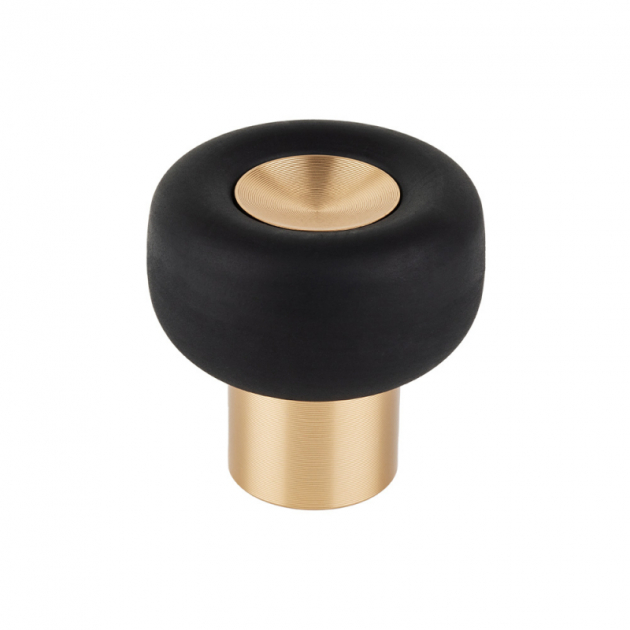
Door Stop Buggy - Brushed brass
753135-11The Buggy door stopper in brushed brass is the optimal combination of style and function. With a modern and sophisticated design, this accessory not only protects your doors and walls but also elevates the aesthetics of the room.
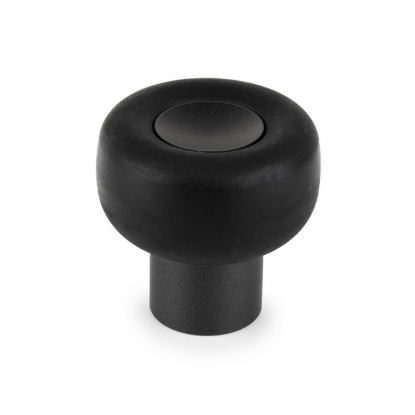
Buggy is designed with durable materials like aluminum and silicone, making it a safe and timeless choice. It is available in two modern finishes: brushed brass and matt black, providing the opportunity to customize your choice according to interior style and taste.
Whether it's at home, in the office, or in other environments where doors need to be securely opened, Buggy is the elegant and reliable choice.
- Specifications
-
Article depth: 46,5 mm Article diameter: 47 mm Article length: 47 mm Article width: 47 mm Measurements of the foot: Ø25 mm - Care instructions
- Assembly and Installation
Installation of wall-mounted door stop1. Place the lower part of the door stop on the wall where you want to install it.
2. Easily mark the drilling point by making a mark through the screw hole.
3. Prepare the installation by drilling a hole and inserting a plug suitable for your wall type (e.g., concrete, drywall, brick).
4. Secure the door stop to the wall using the screws and threads.
Tip! Always use screws and plugs optimized for your specific wall type to ensure a stable and secure installation. Make sure the door stop is in the correct position before fully tightening the screws.
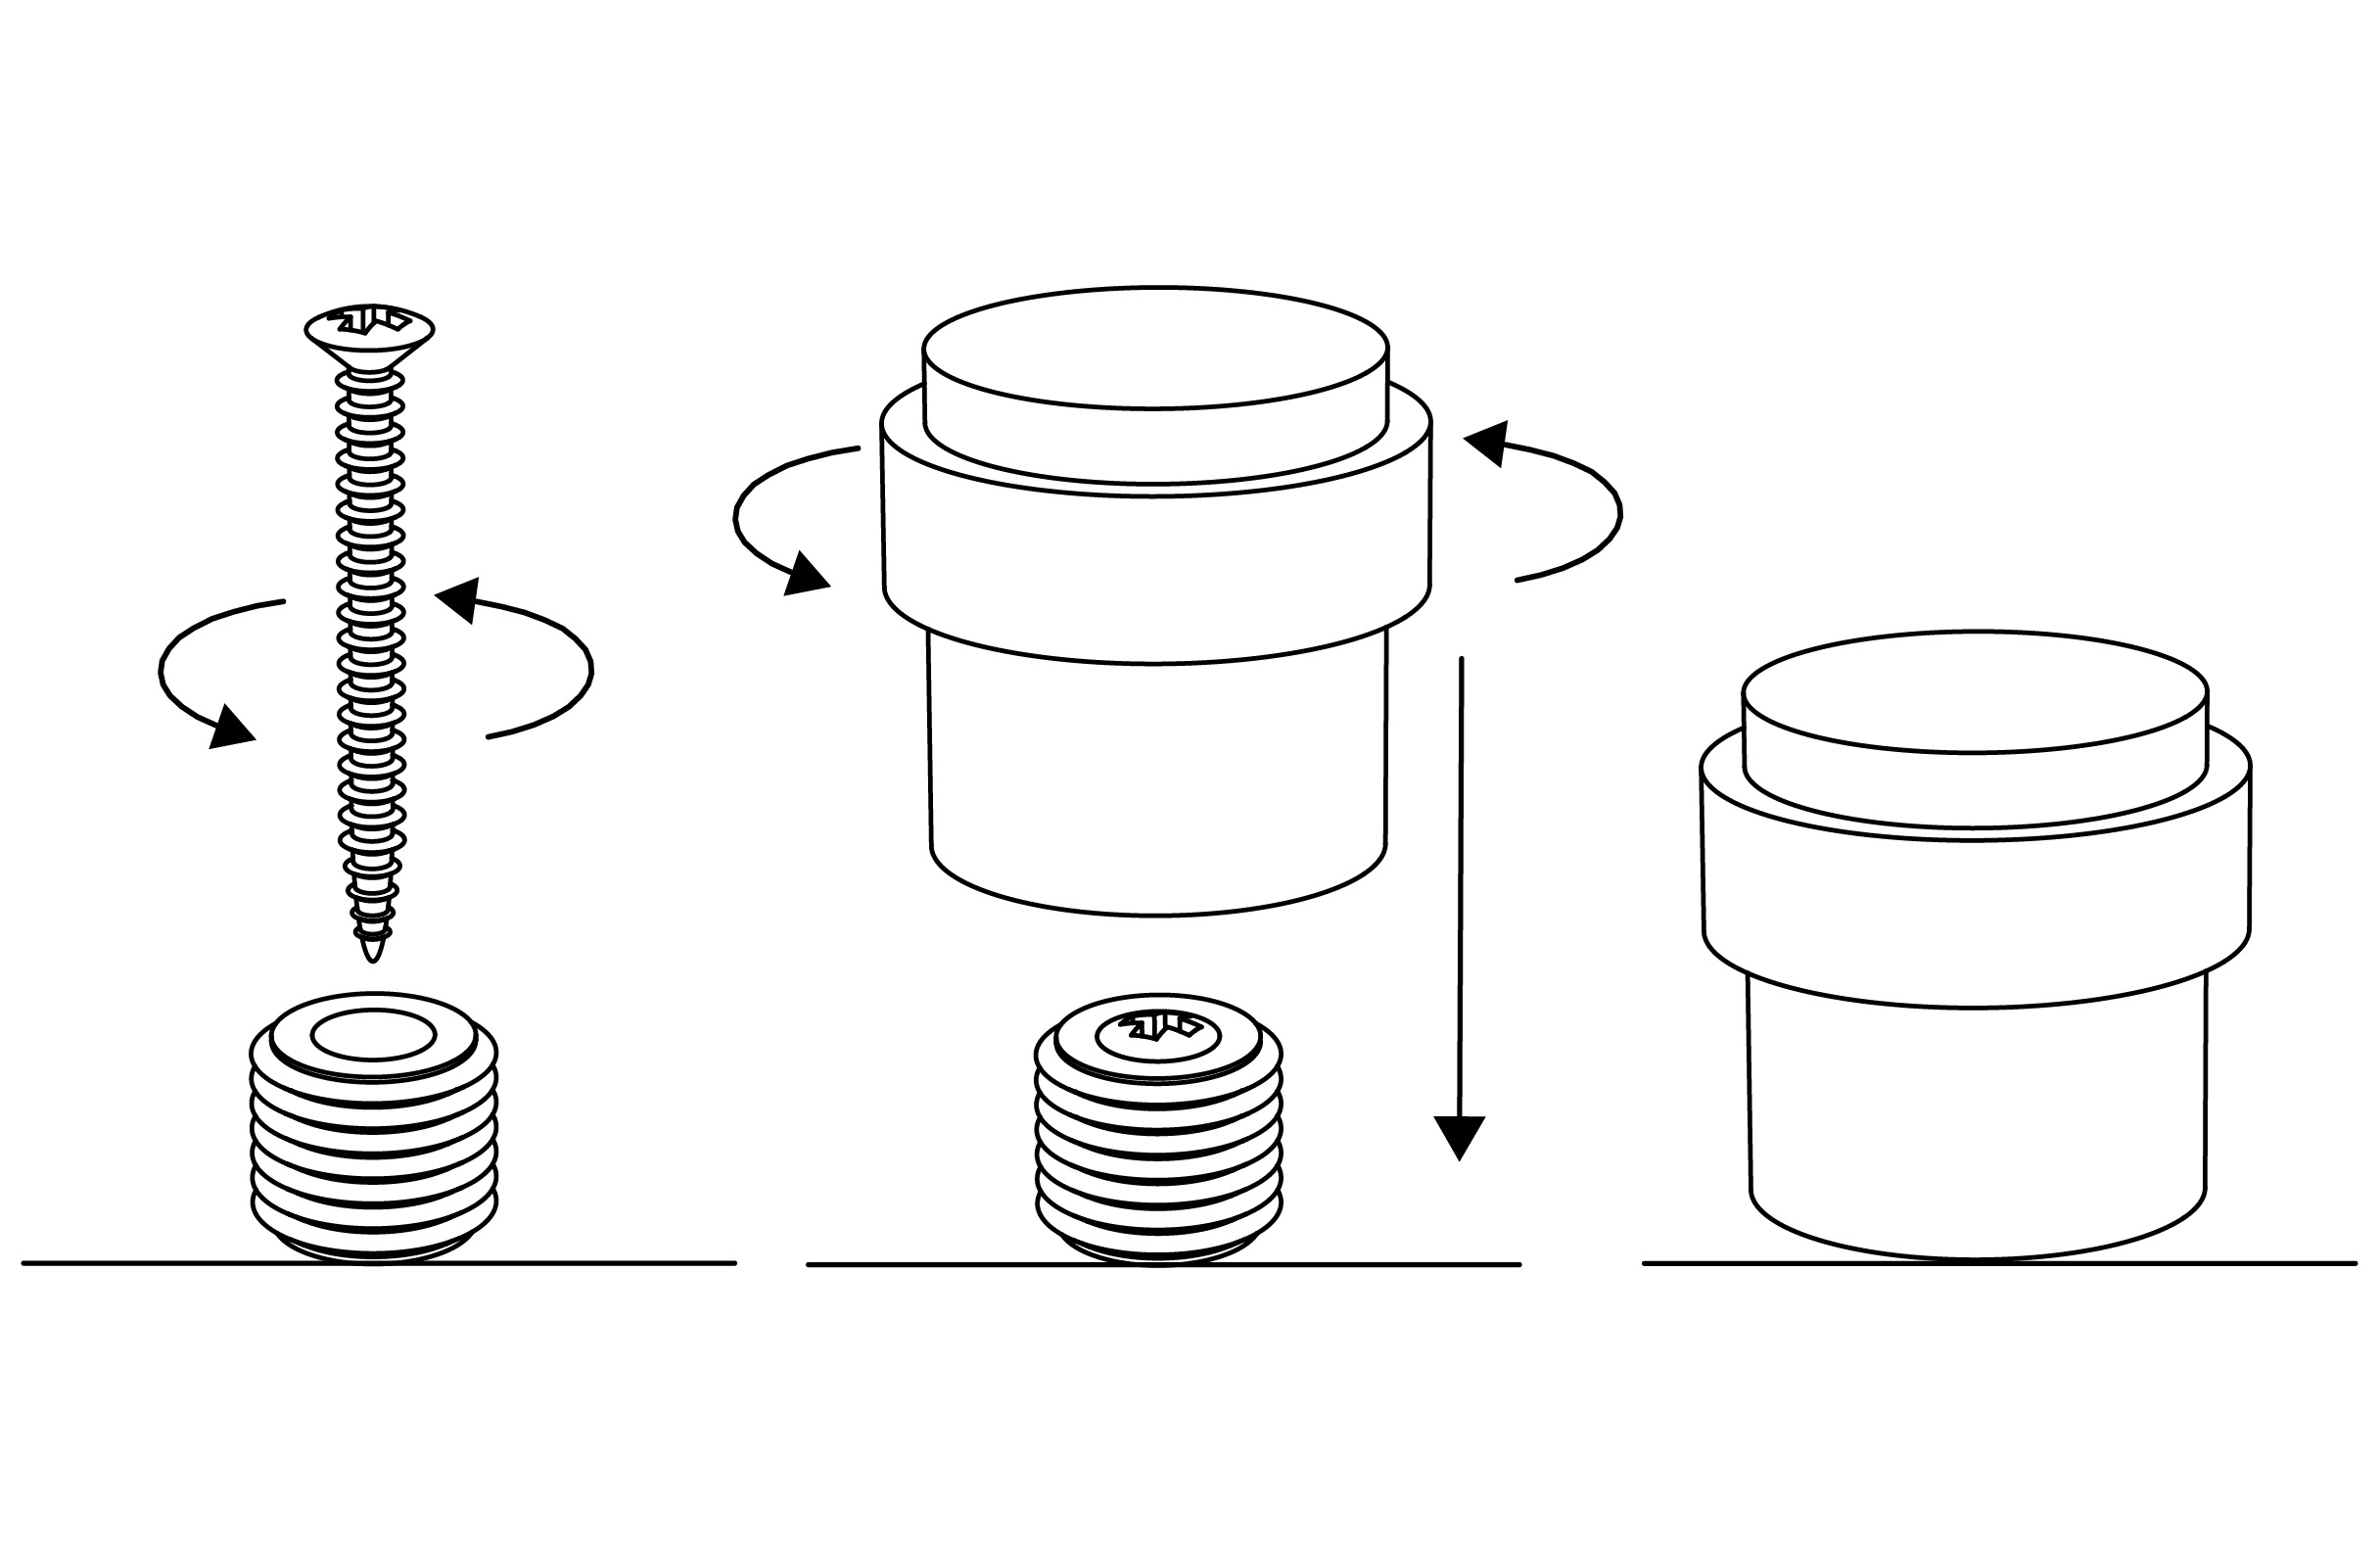
Installation of floor-mounted door stopInstall with the included mounting kit.
1. Place the door stop in the desired position on the floor.
2. Use the included countersunk screw (4x45mm).
3. Screw the screw into the floor surface.
- Installation guide
-
-
-
-
-
- Material and Finish
- Documentation
- Installation manual
- Product sheet
Blogg
There are currently no blogs connected to this article.


