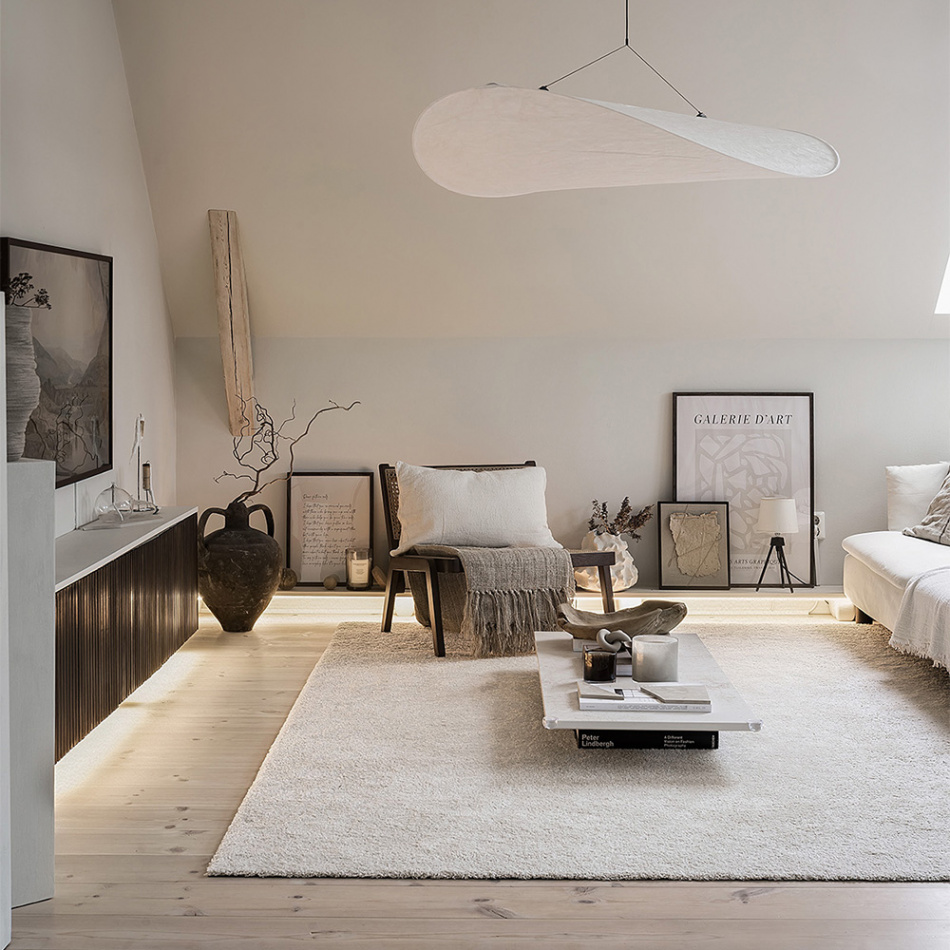
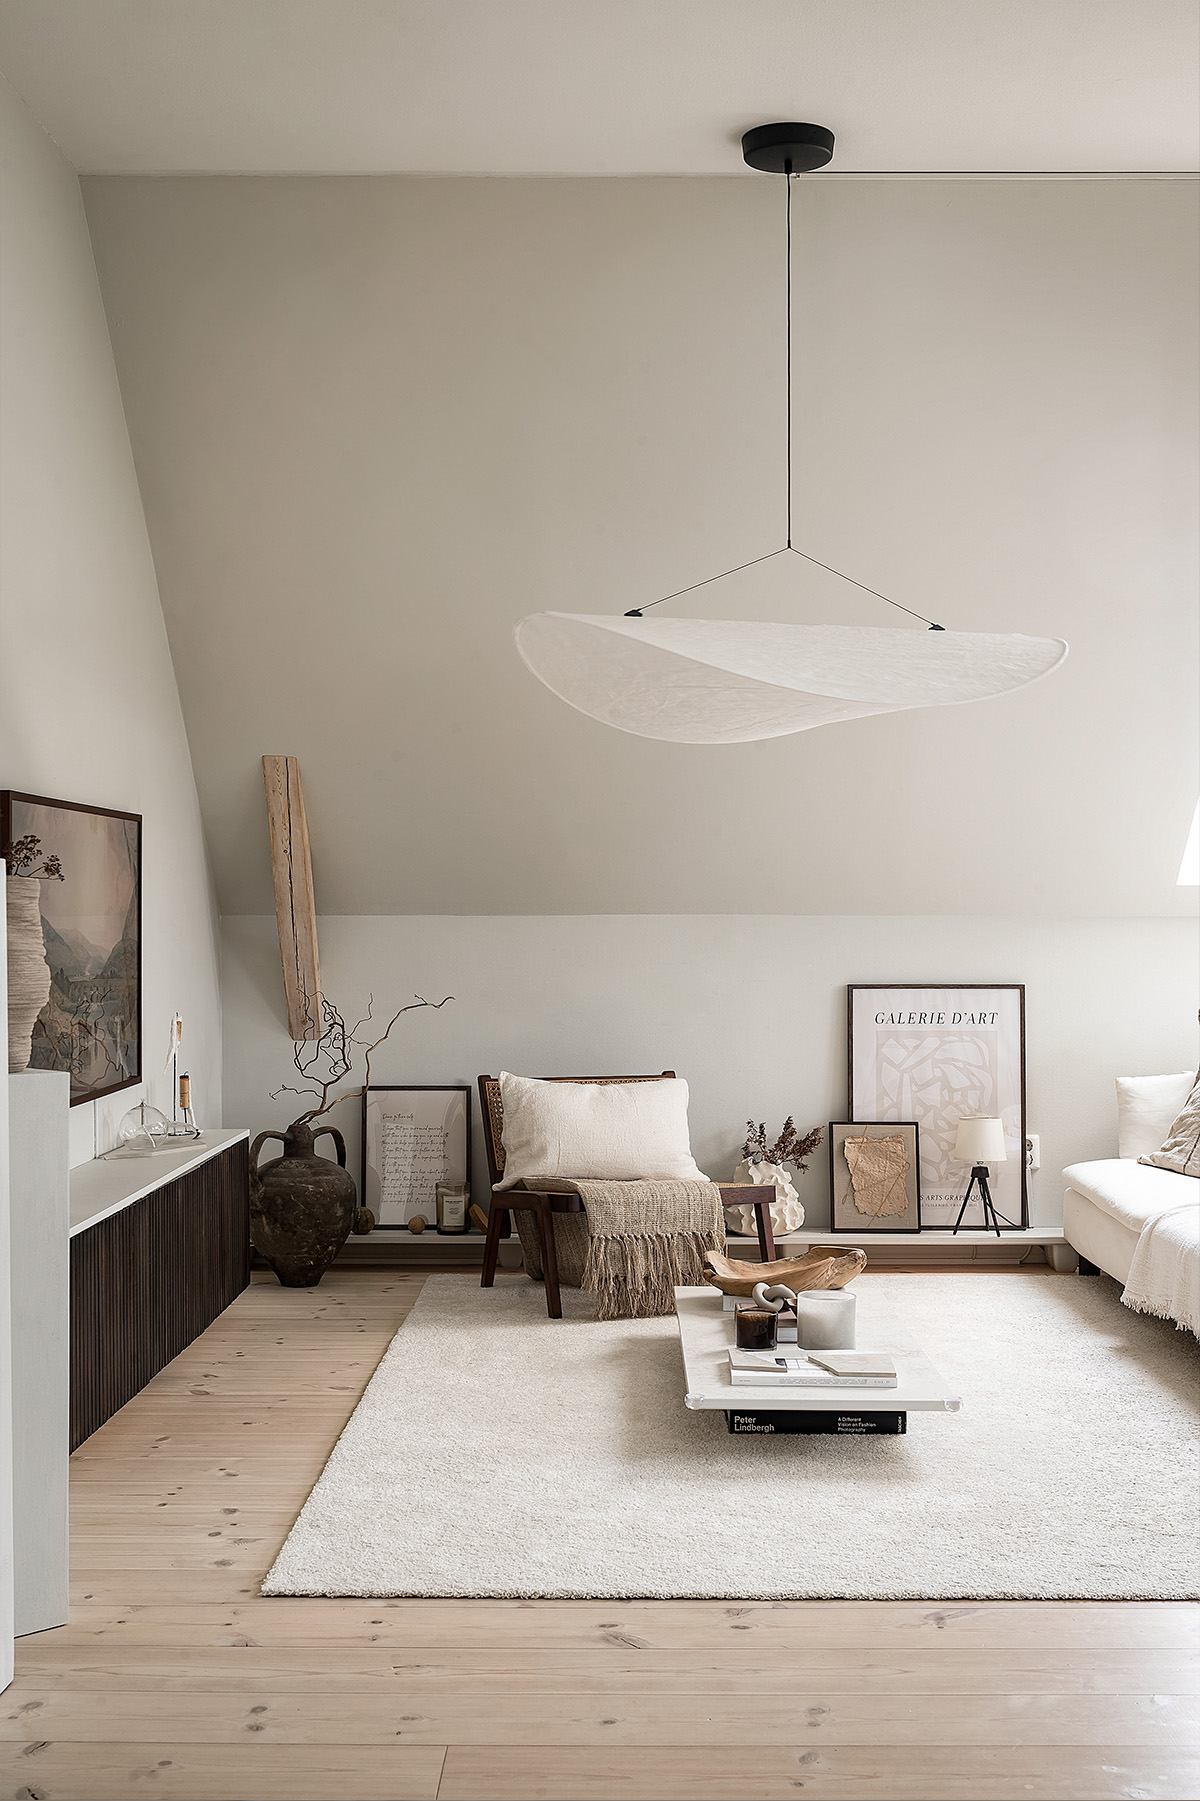
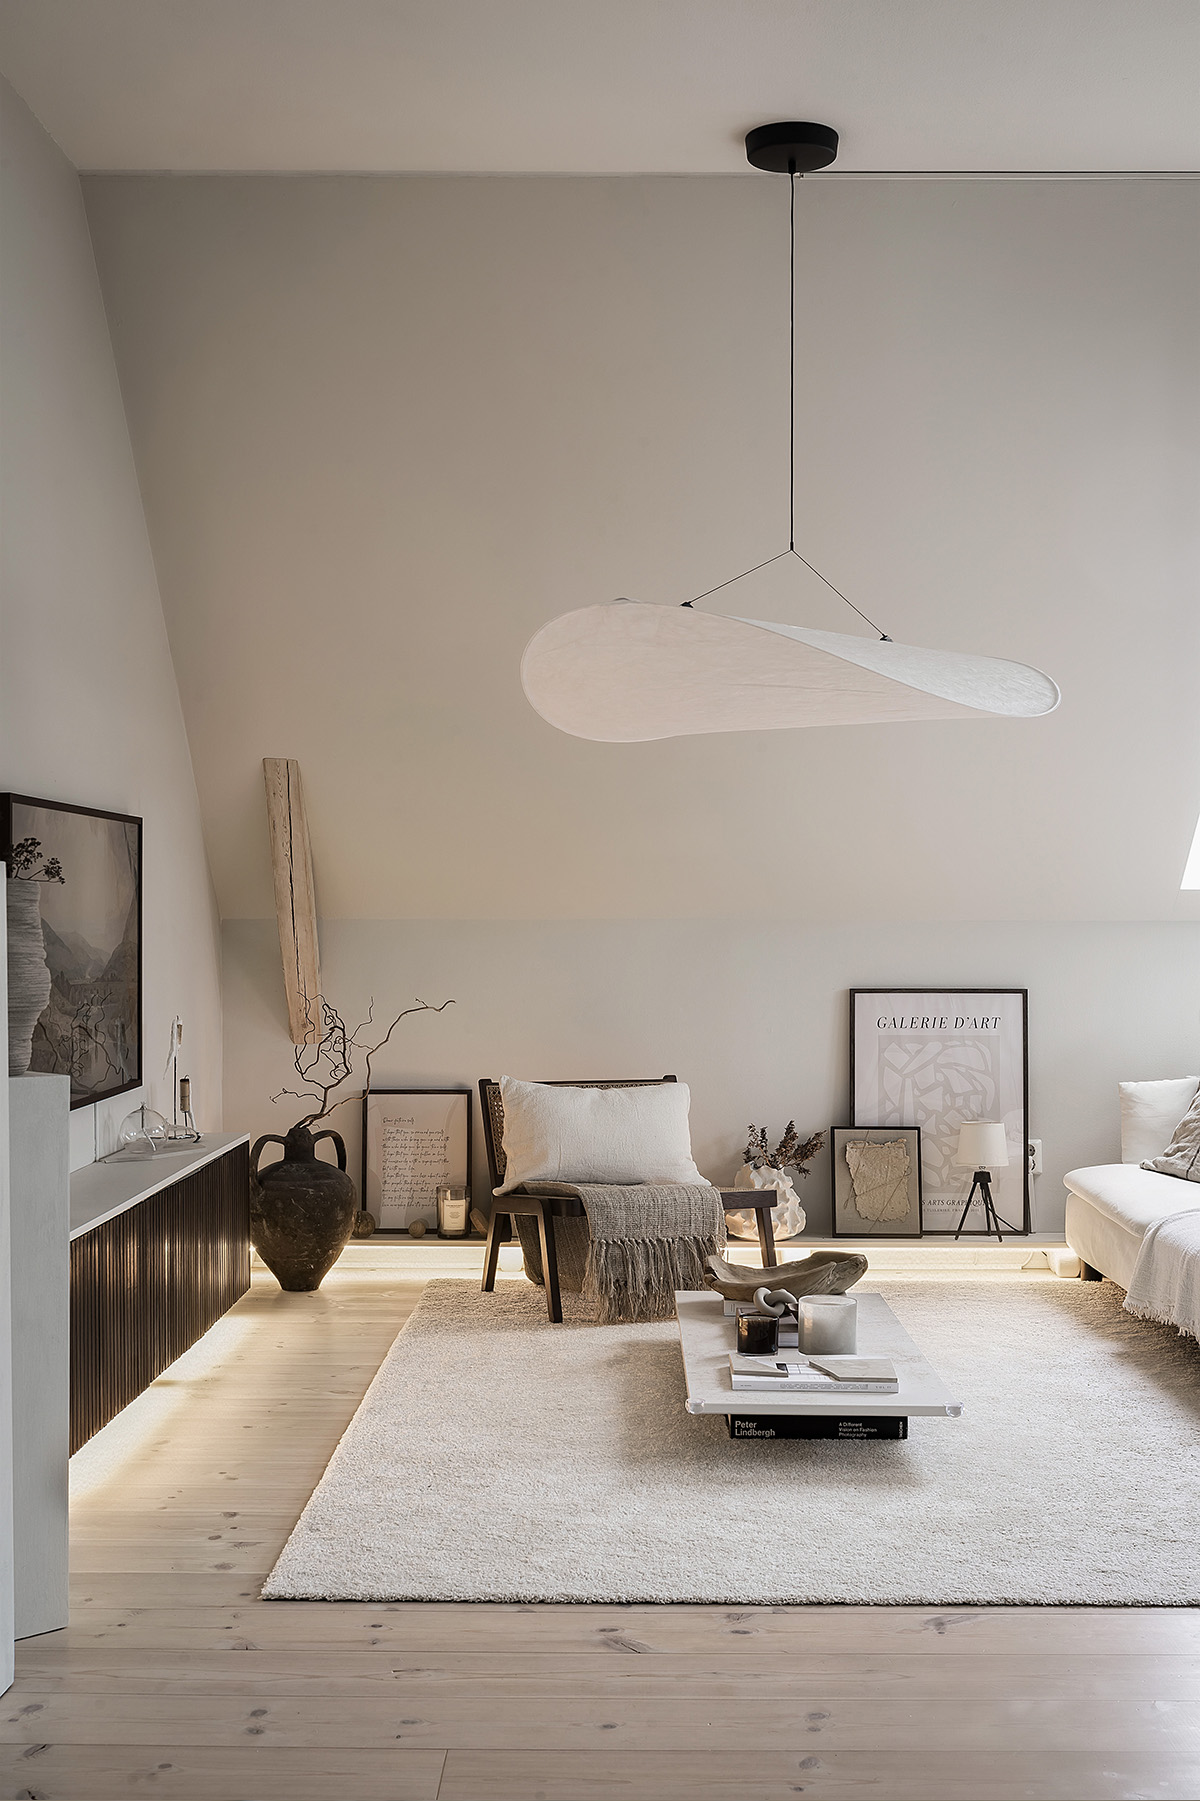
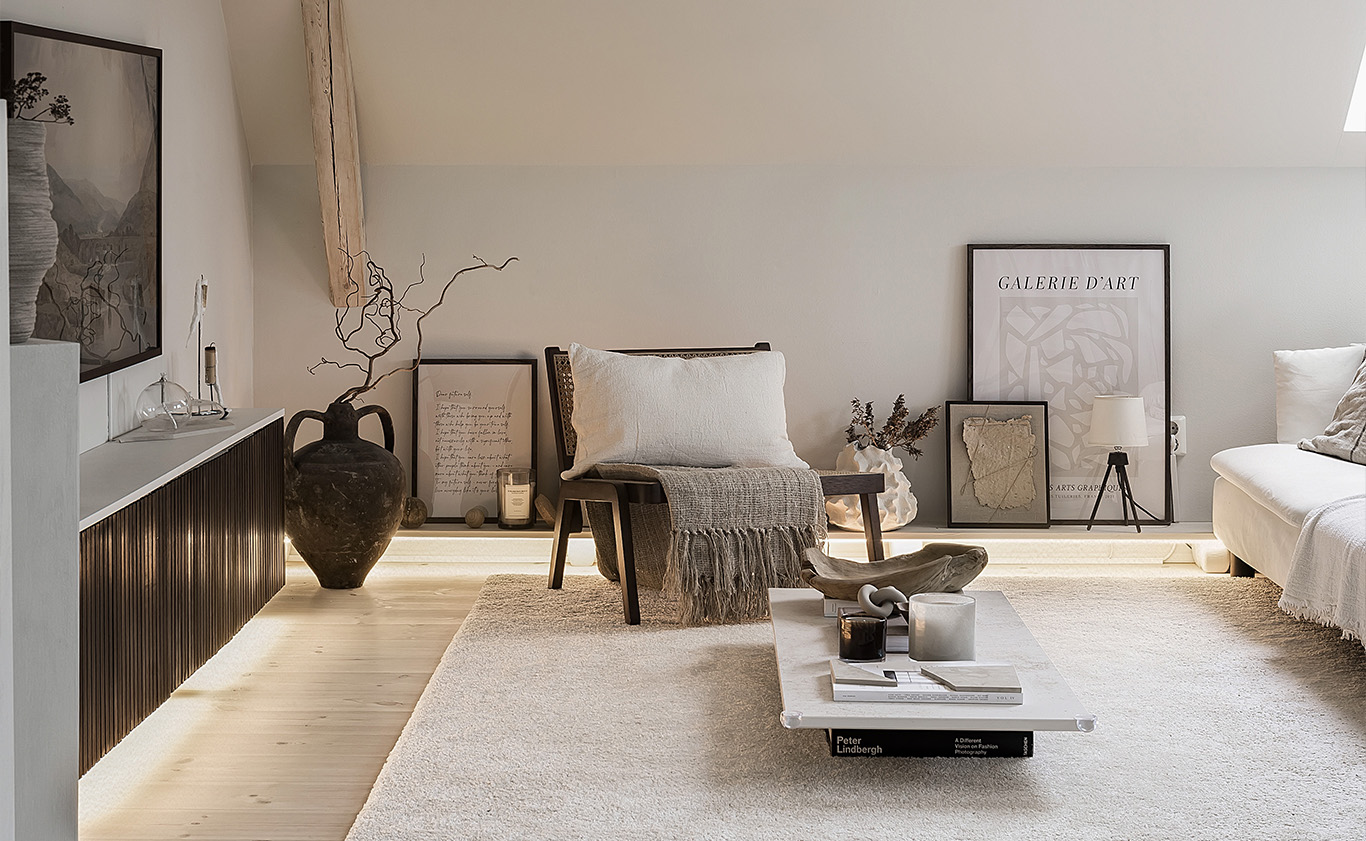
"What a difference it makes, a true mood booster" – @idismartensson
Step 1: Measure
The first thing Ida did was to precisely measure how long the lighting should be under her TV bench and shelf.
Step 2: Cut to the correct length
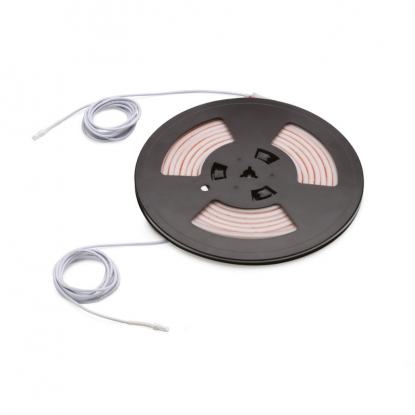
Ida ensured that the cuts of the LED strip were accurate. With Flexy LED AT6, you can cut in modules of 21.7mm. This step is crucial, as diodes without a connection go dark. Clear markings are present on the Flexy LED AT6 where you can cut the strip.
Step 3: Test the connections
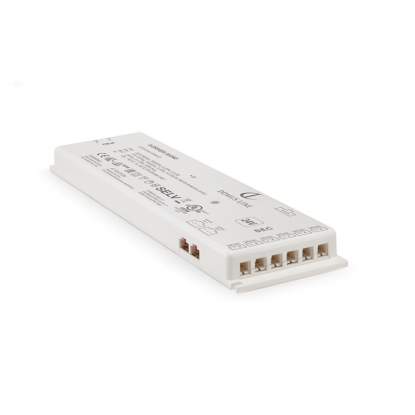
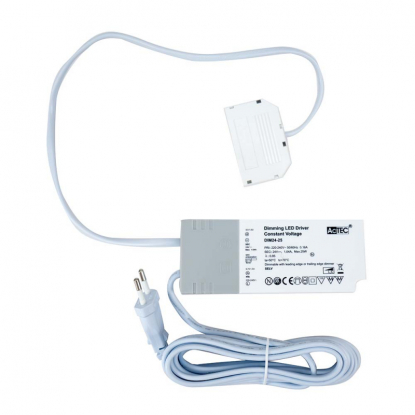
Before she permanently attached the LED strip, Ida connected it to the driver to make sure everything was working correctly.
Step 4: Mount the LED strip
Once everything was ready for mounting, Ida removed the tape from the existing 3M tape on the back of the LED strip. She then easily attached it to the surface where she wanted her lighting, creating an instant mood boost in the room.
Ida – @idismartensson
Ida runs the Instagram account @idismartensson and inspires greatly with an eye for details and interior design.
LIVES IN: Gävle, Sweden
PROFESSION: Creator and hairdresser
CURRENT PROJECT: Planning to build a house
In the Instagram post, Ida shows step-by-step how she illuminated and created a mood-filled ambiance in the living room.

