

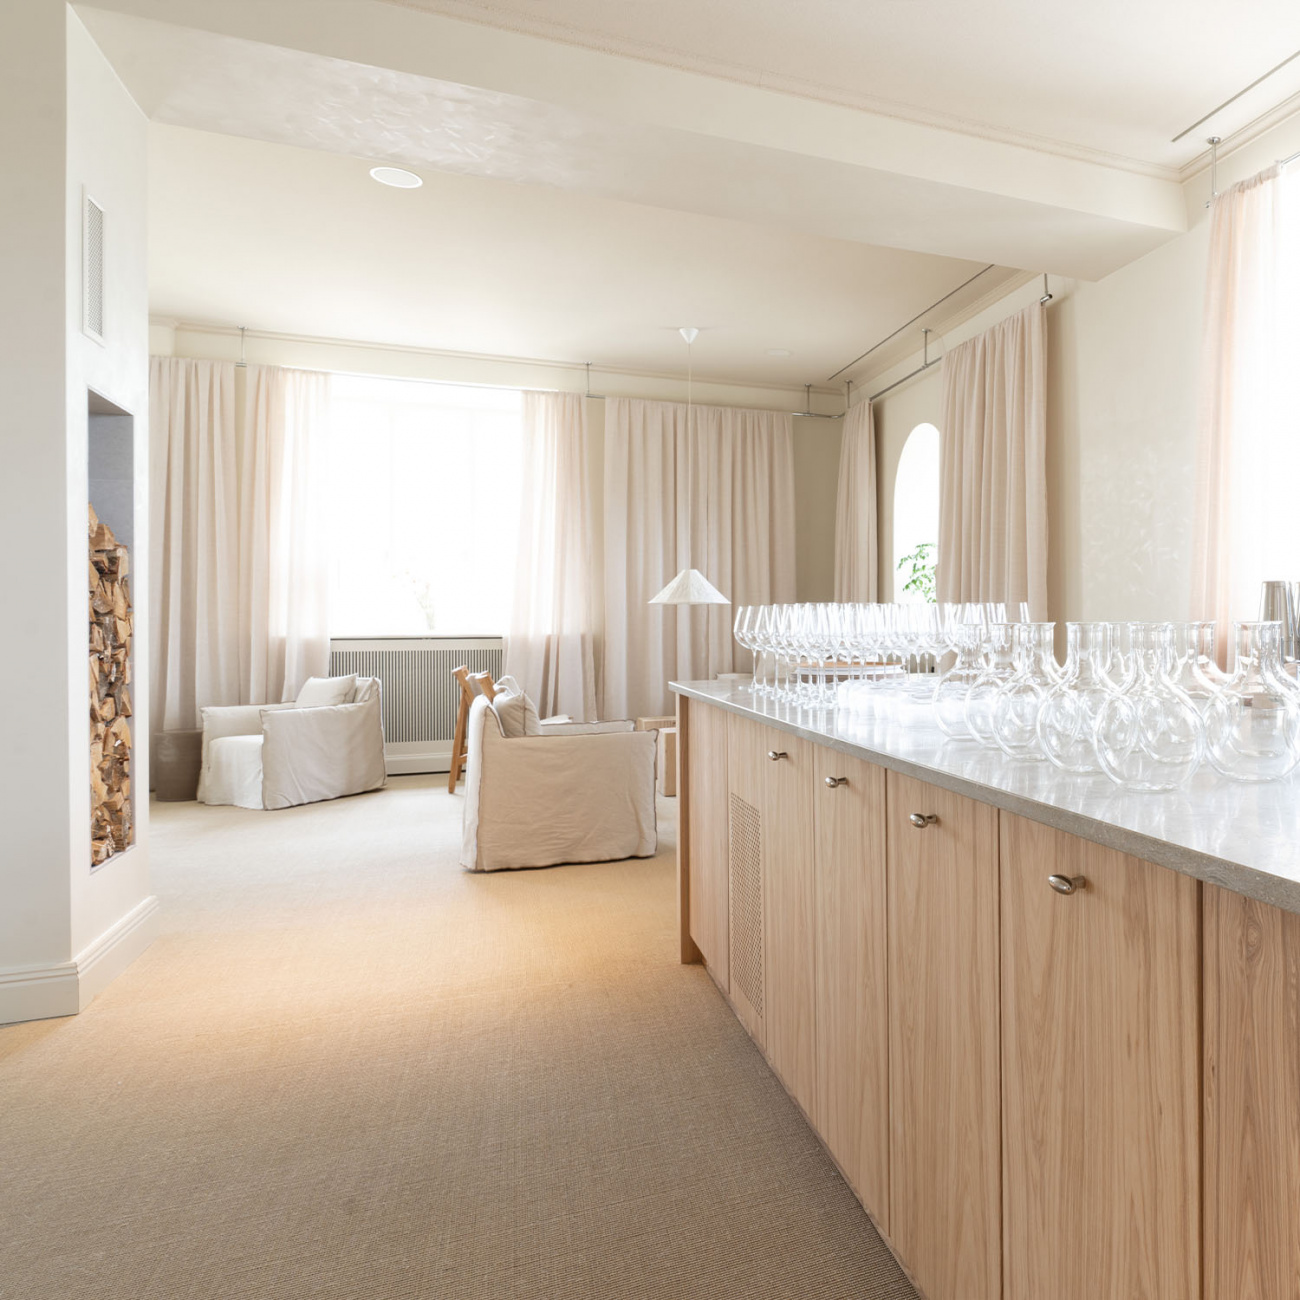
New Spa Floors at Varbergs Kusthotell
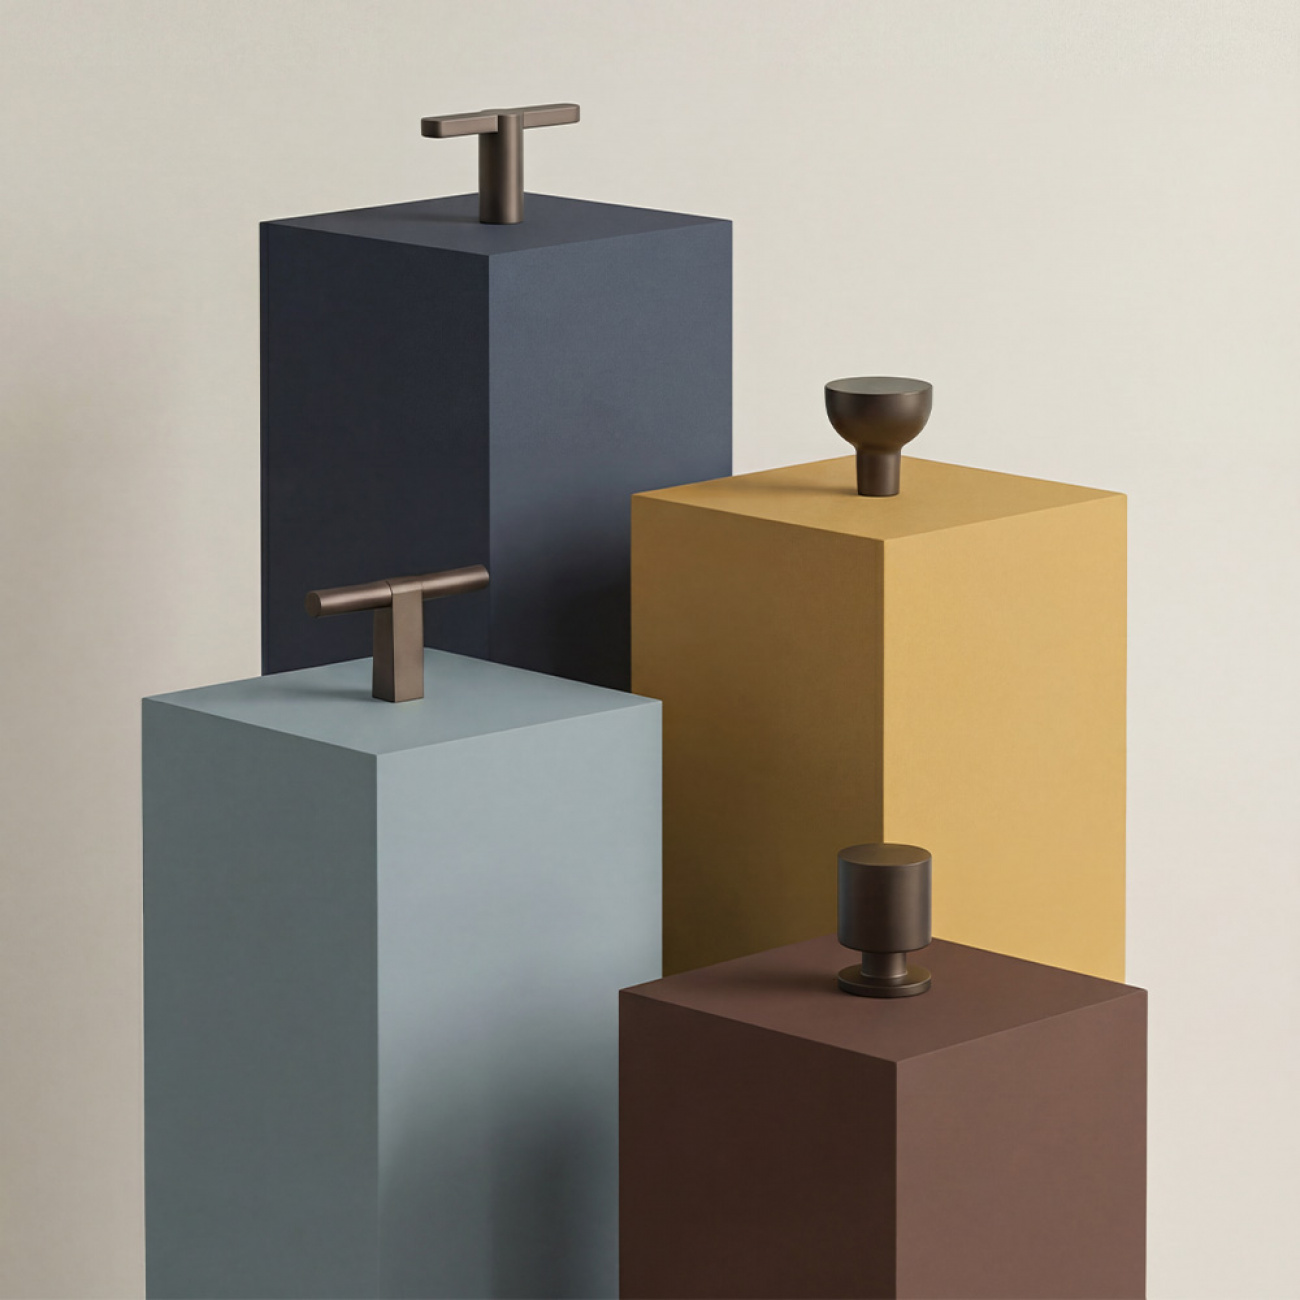
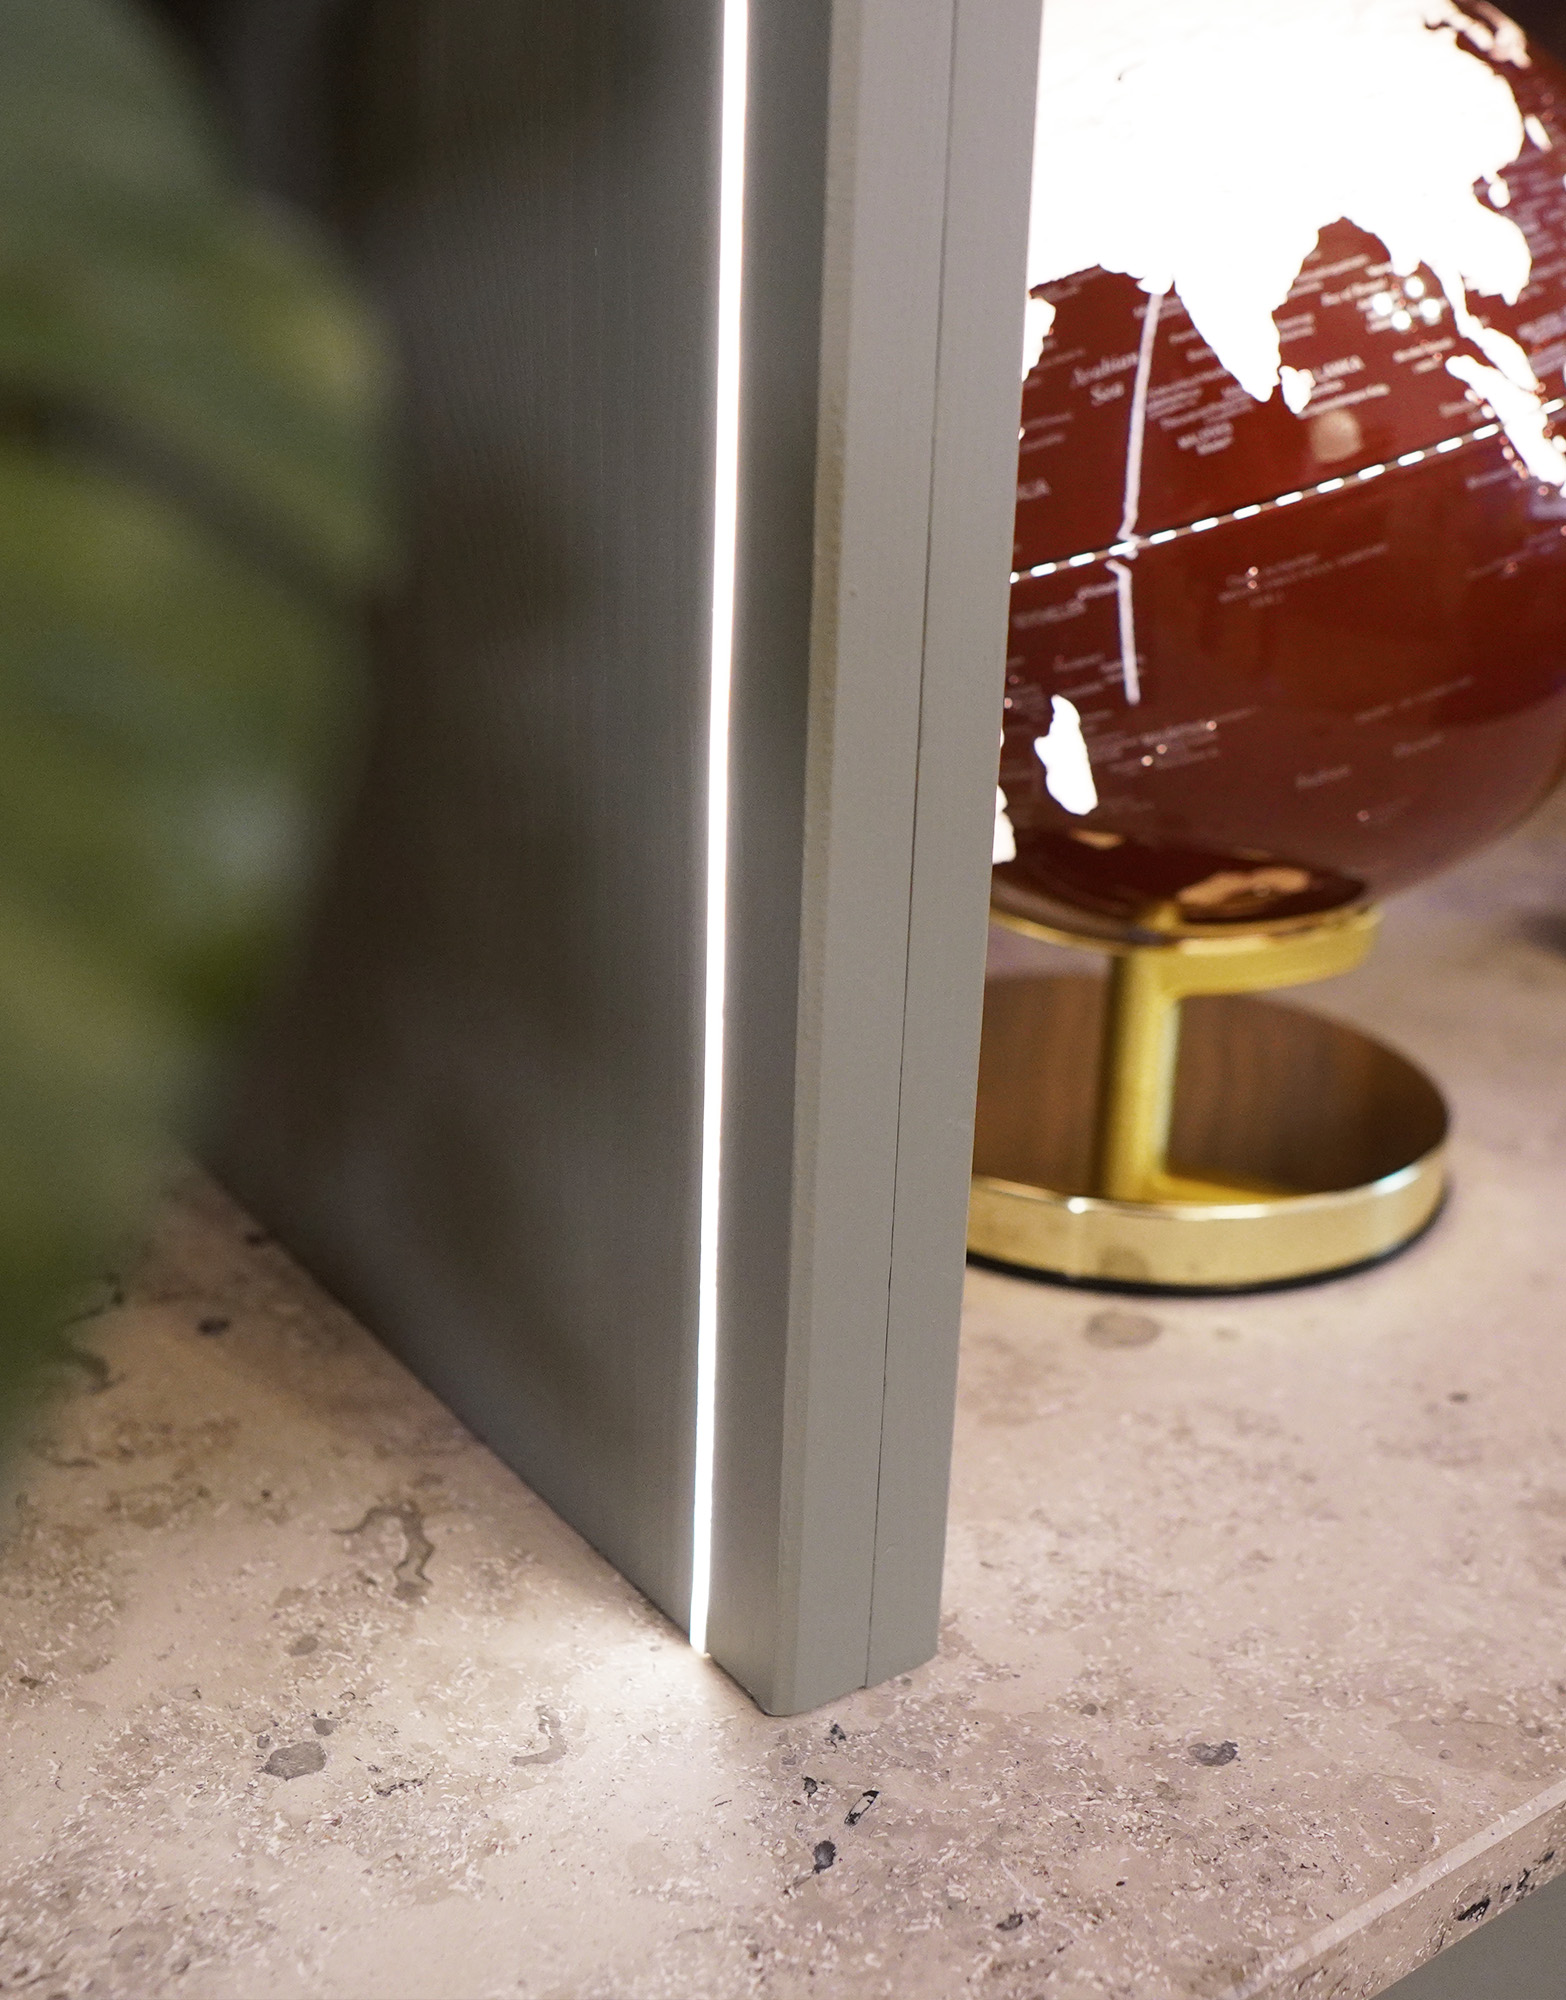
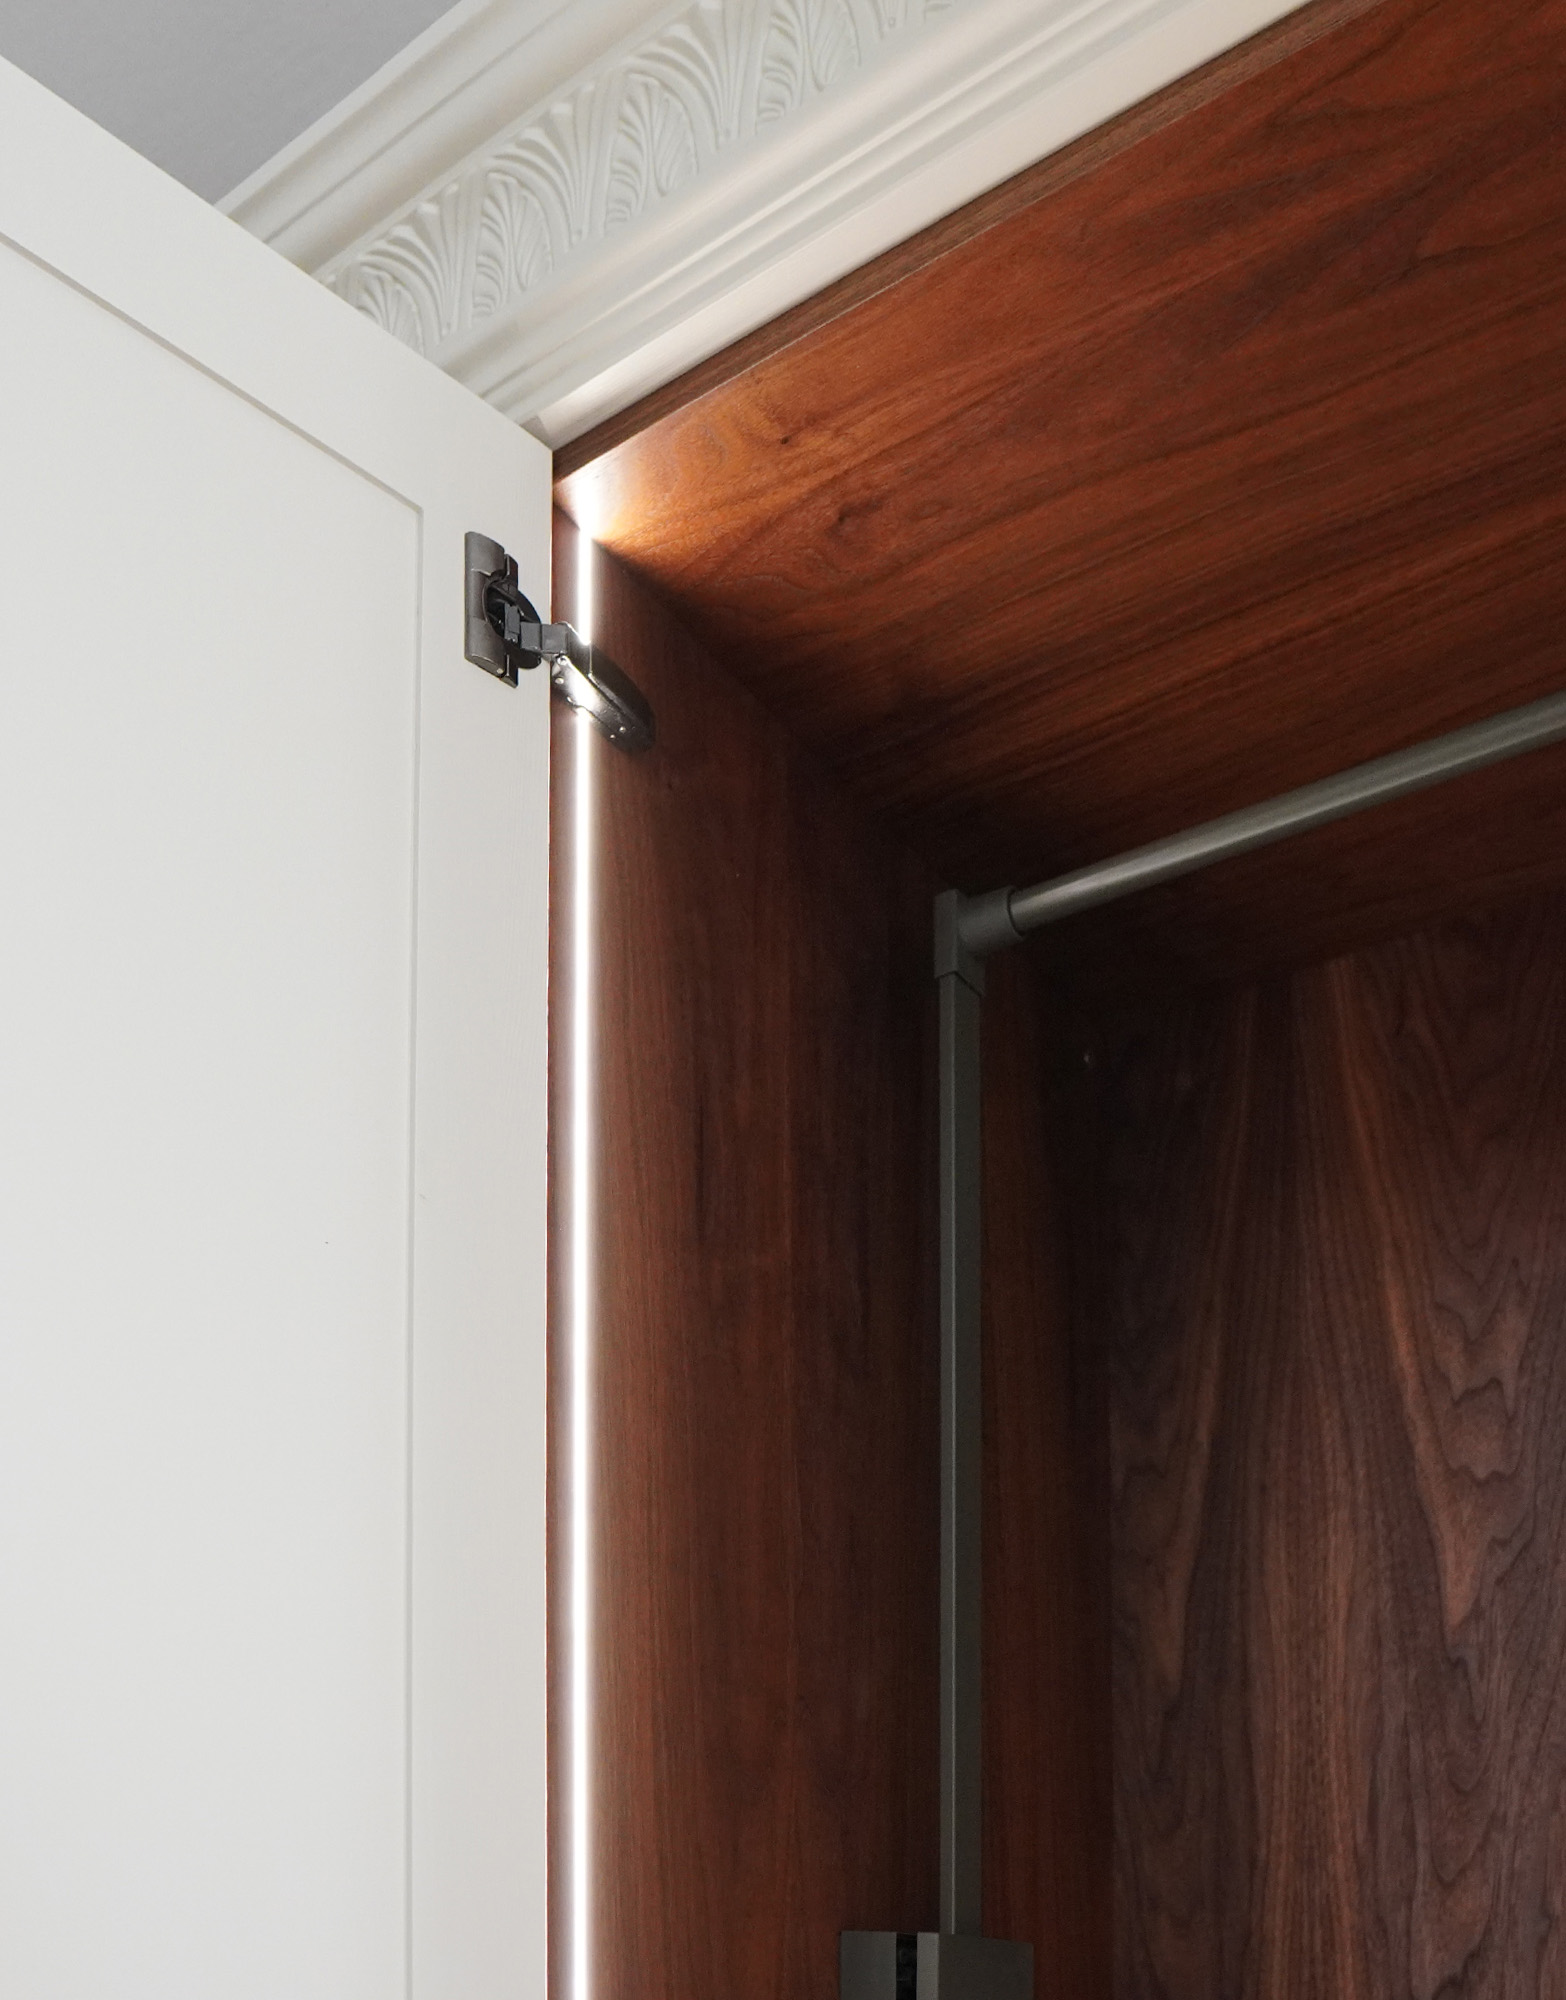
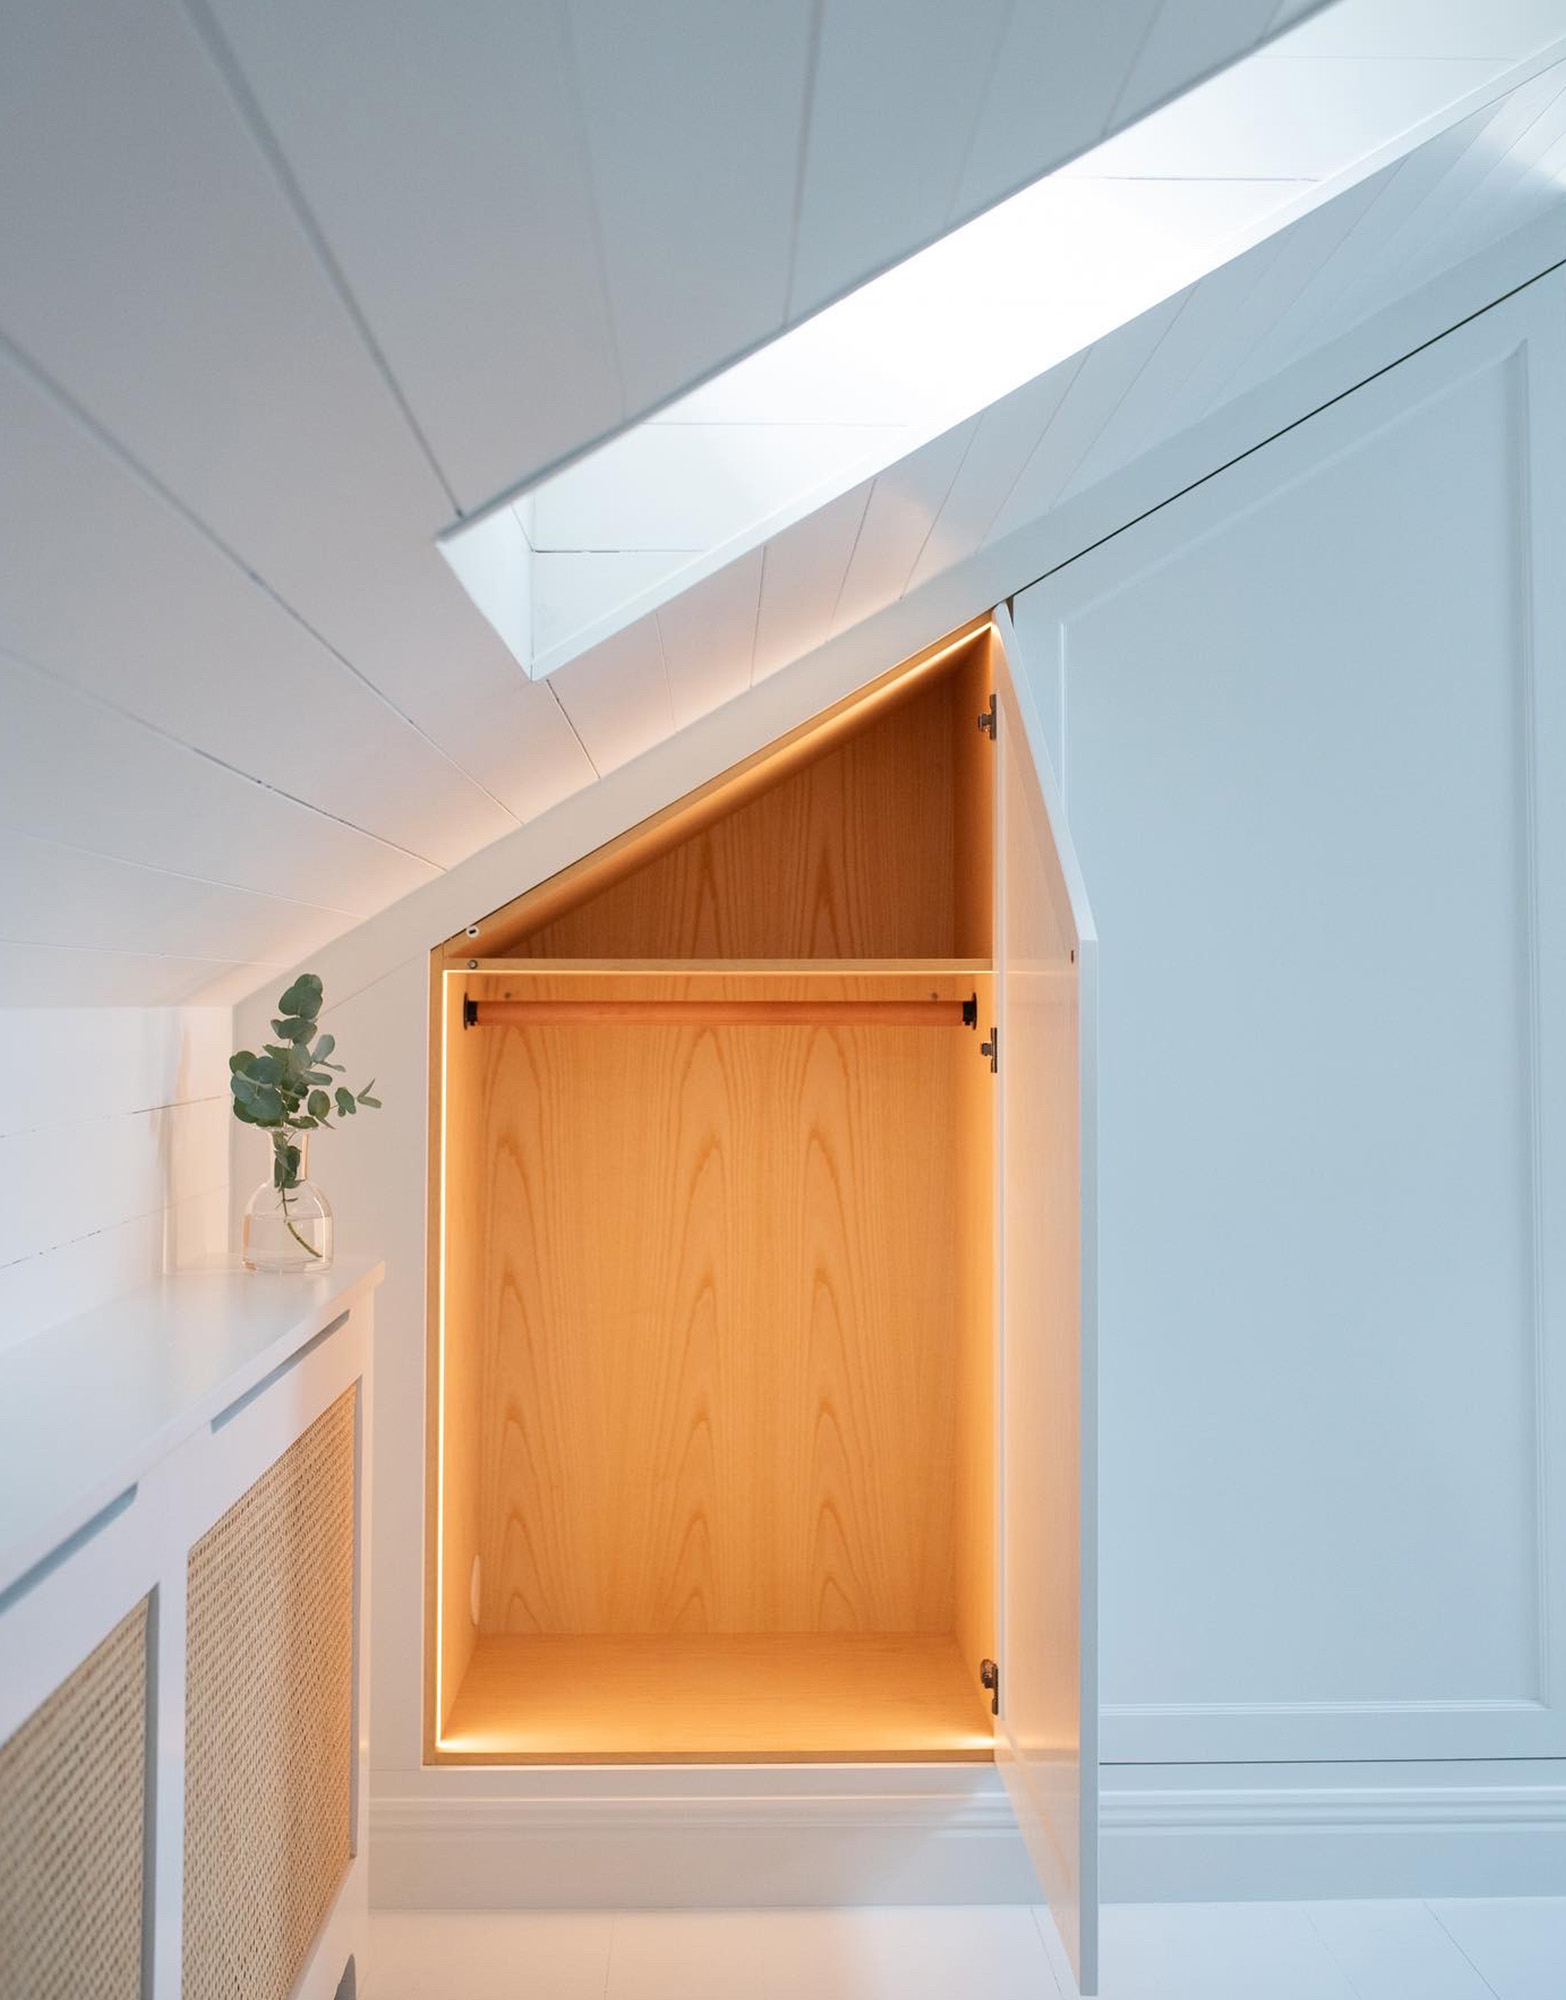
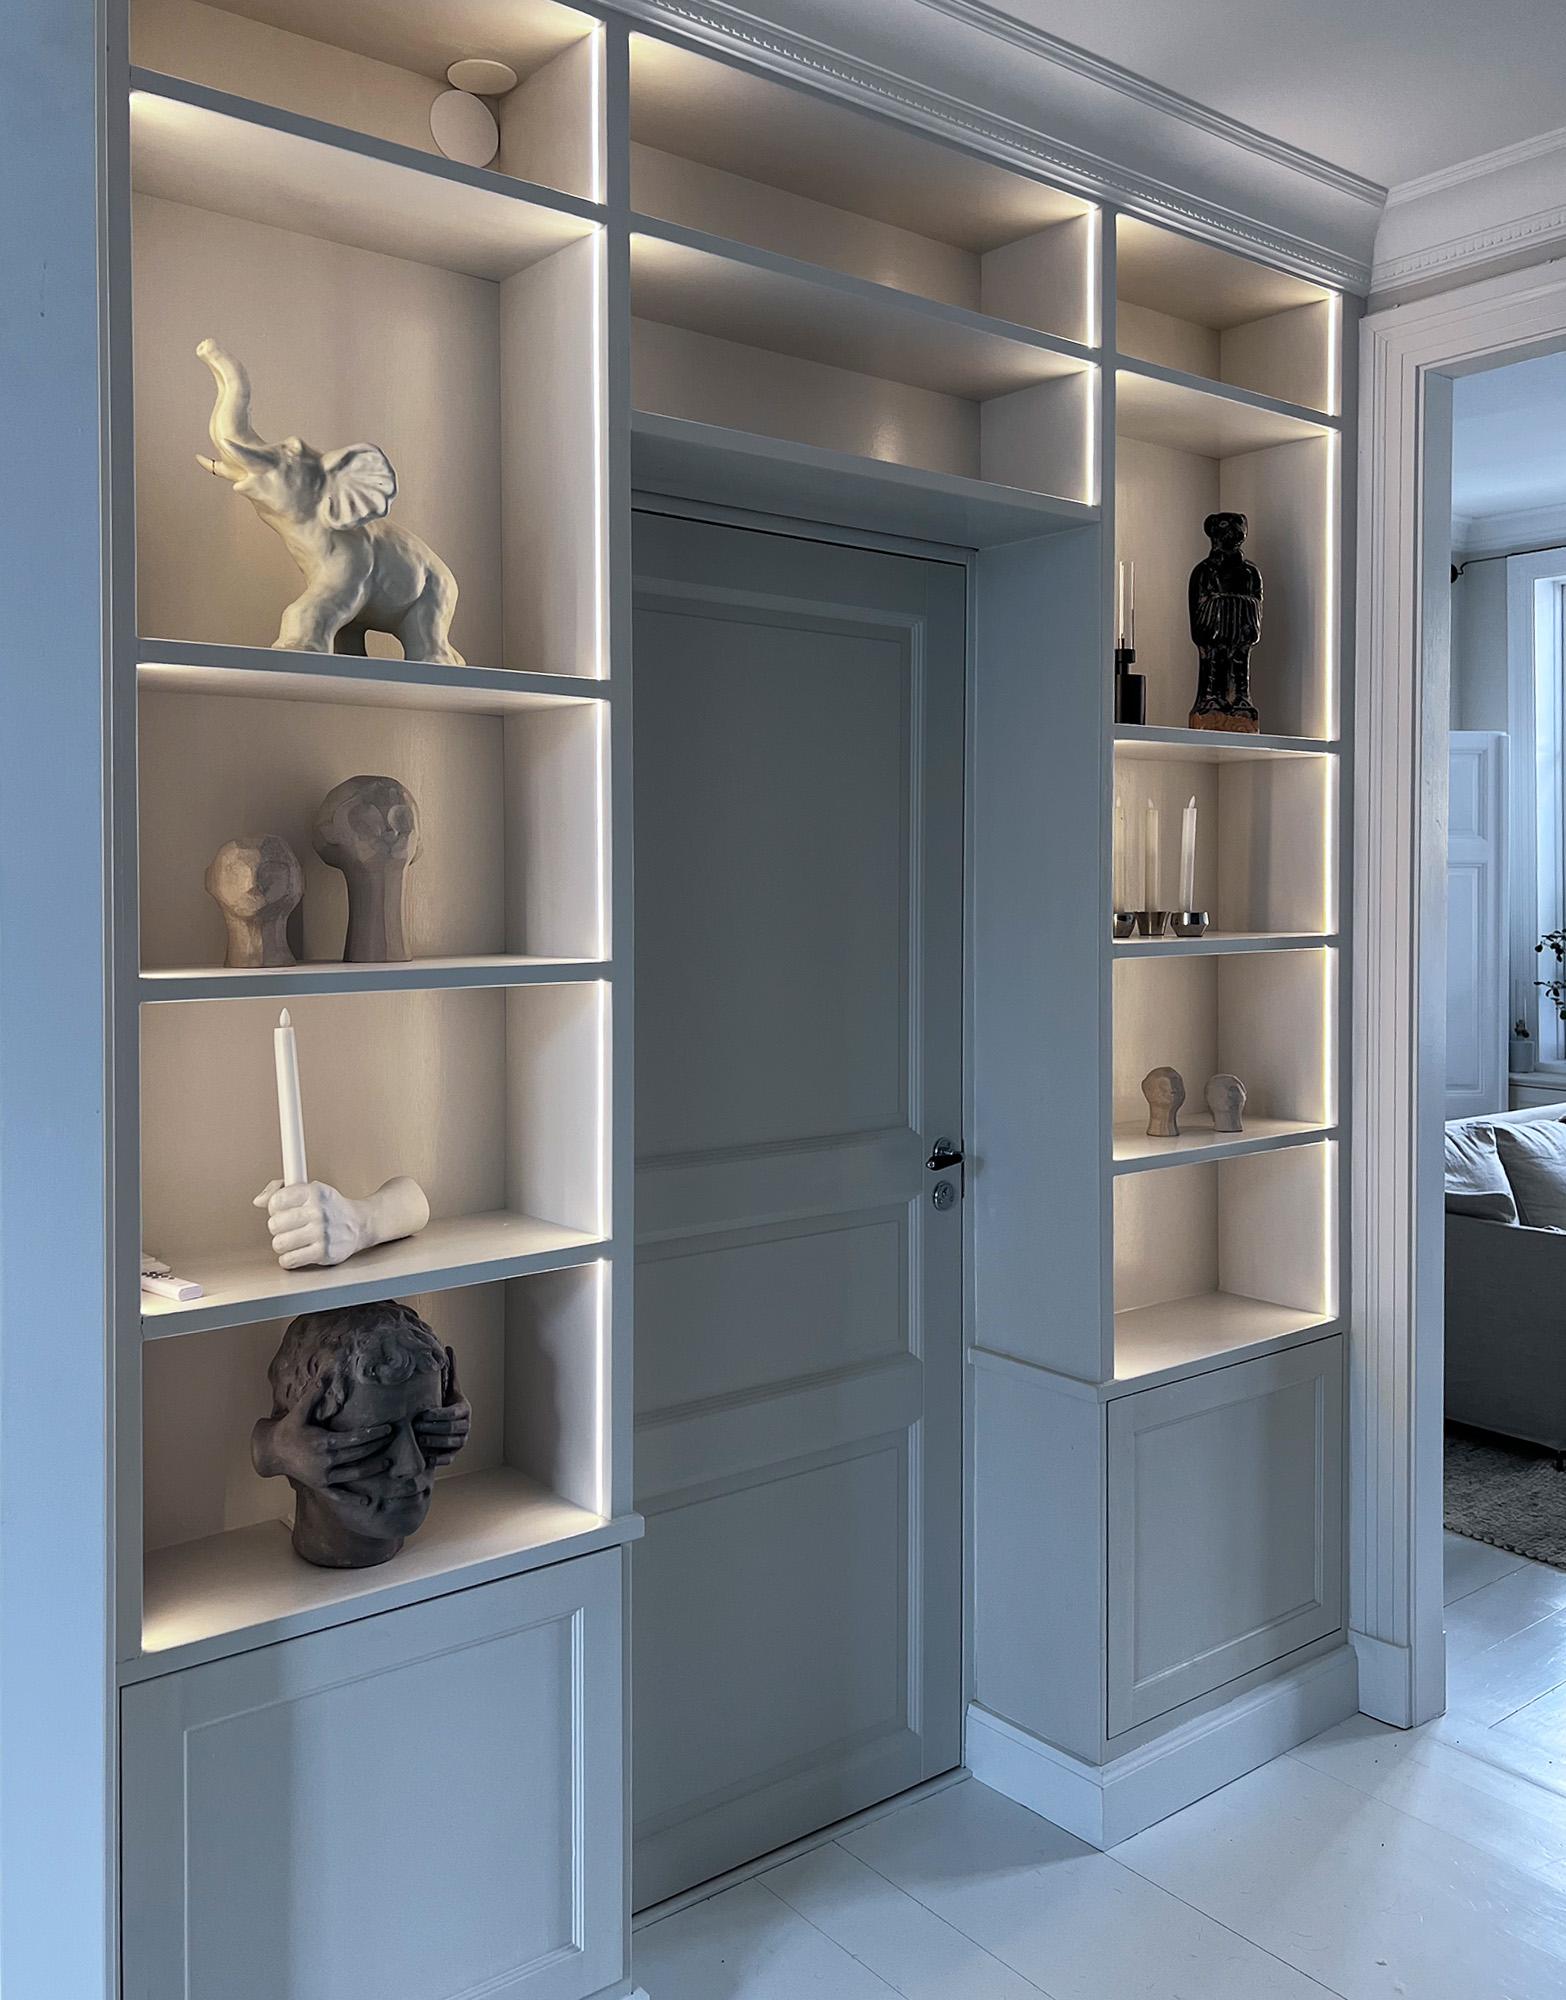
In May 2026, Varbergs Kusthotell opened the first phases of its new spa floors. The carefully renovated spaces have been developed with respect for the building’s history, where generous ceiling heights, large windows and airy rooms allow natural light to flow throughout the property. The interiors are characterised by light tones, natural materials and a calm Nordic atmosphere, with the sea ever-present just beyond the windows. Throughout the project, the T Oliver knob reappears as a unifying design detail.
Read more