Step-by-Step Guide: Optimal Closet Lighting | Beslag Design
Login / Retailer
Forgot password?
Step-by-Step Guide: Closet lighting that makes a difference

Tips and guides Hallway

 / 2024-05-22

Step-by-Step Guide: Closet lighting that makes a difference

Josefine, one of Beslag Design's previous ambassadors, highlights the importance of forward-thinking when planning your home. By placing power outlets in strategic locations already when sketching the house's floor plan, she could later easily install LED lighting in the closets – a detail that made an enormous difference in an area otherwise hidden from daylight.
"The daylight in the hallway never reaches our closets, but it was only when the lighting was in place that I truly understood our need for lamps there." @josefineshem


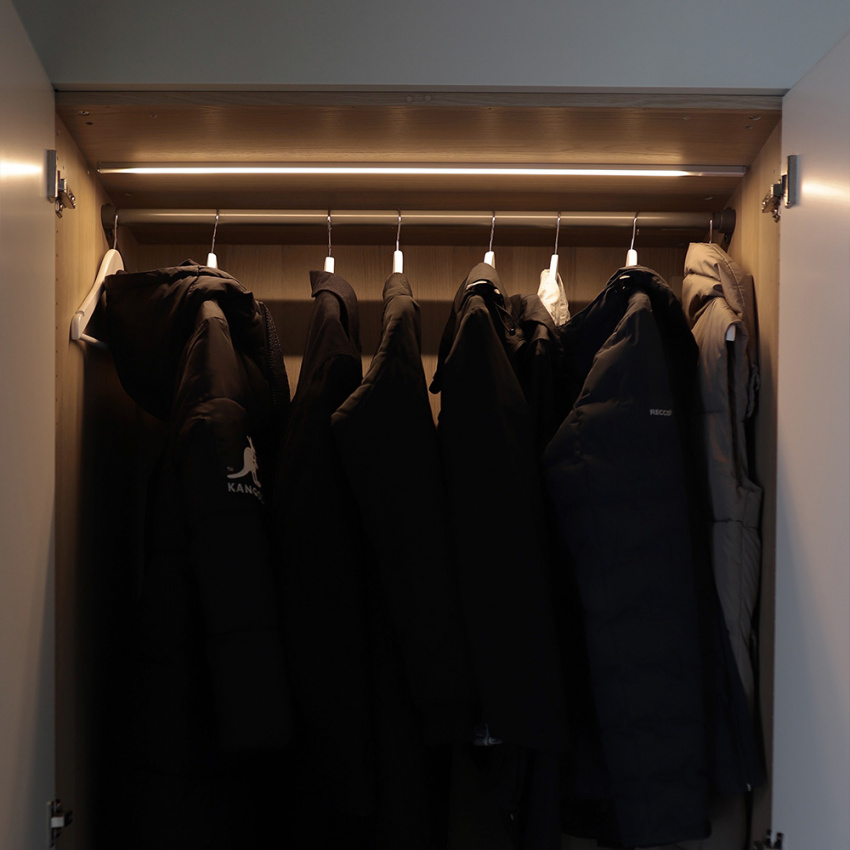
Josefine's Step-by-Step Guide to Closet Lighting

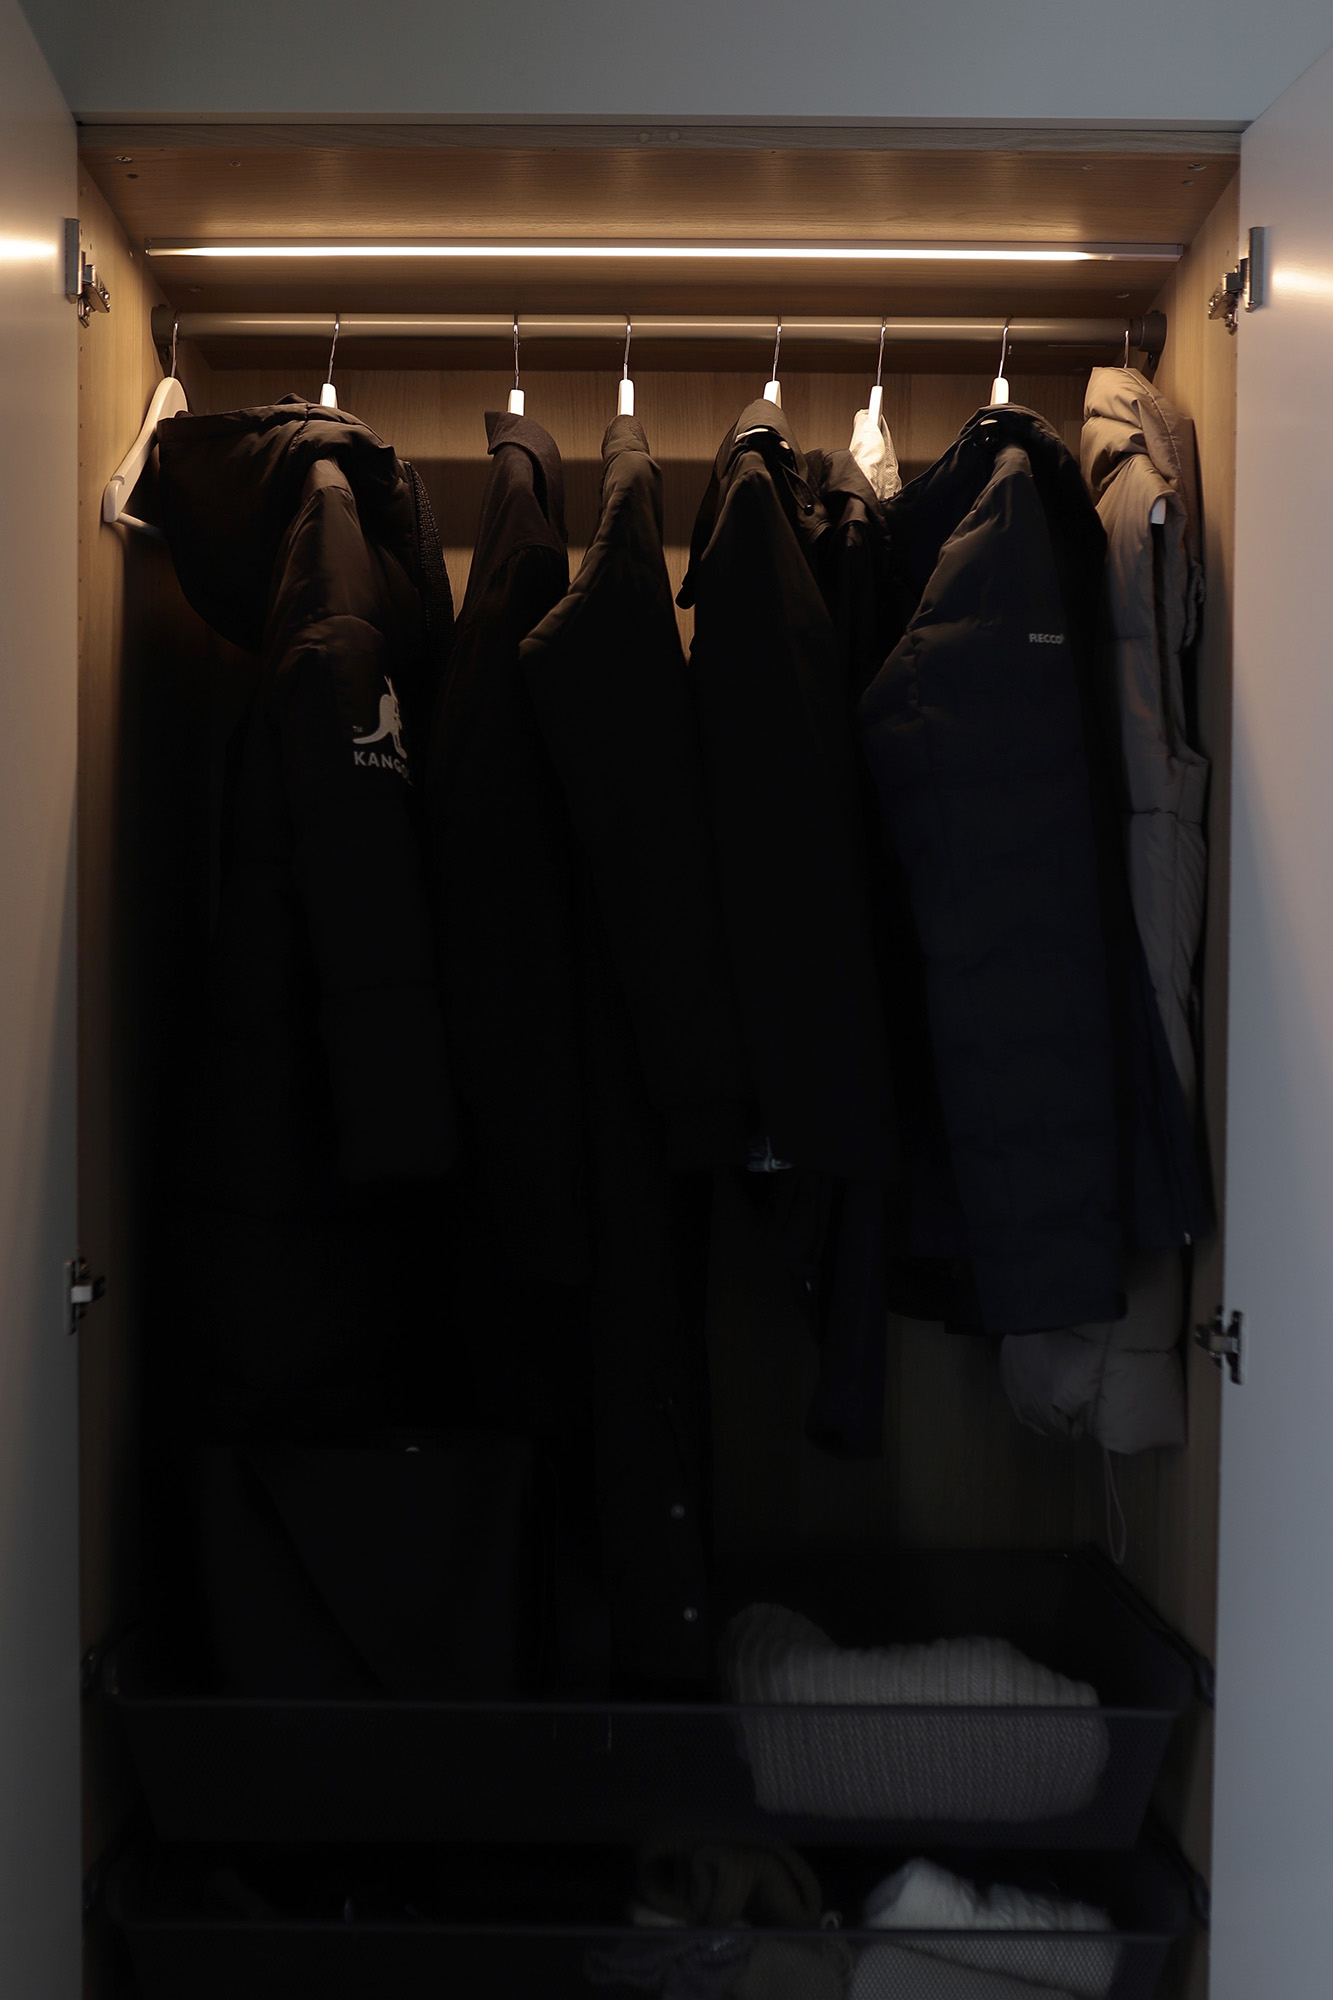
Josefine chose Beslag Design's LED profile Nexus. In these simple steps, and in Josefine's Instagram reel, she guides us through the installation of closet lighting with the Nexus LED profile.

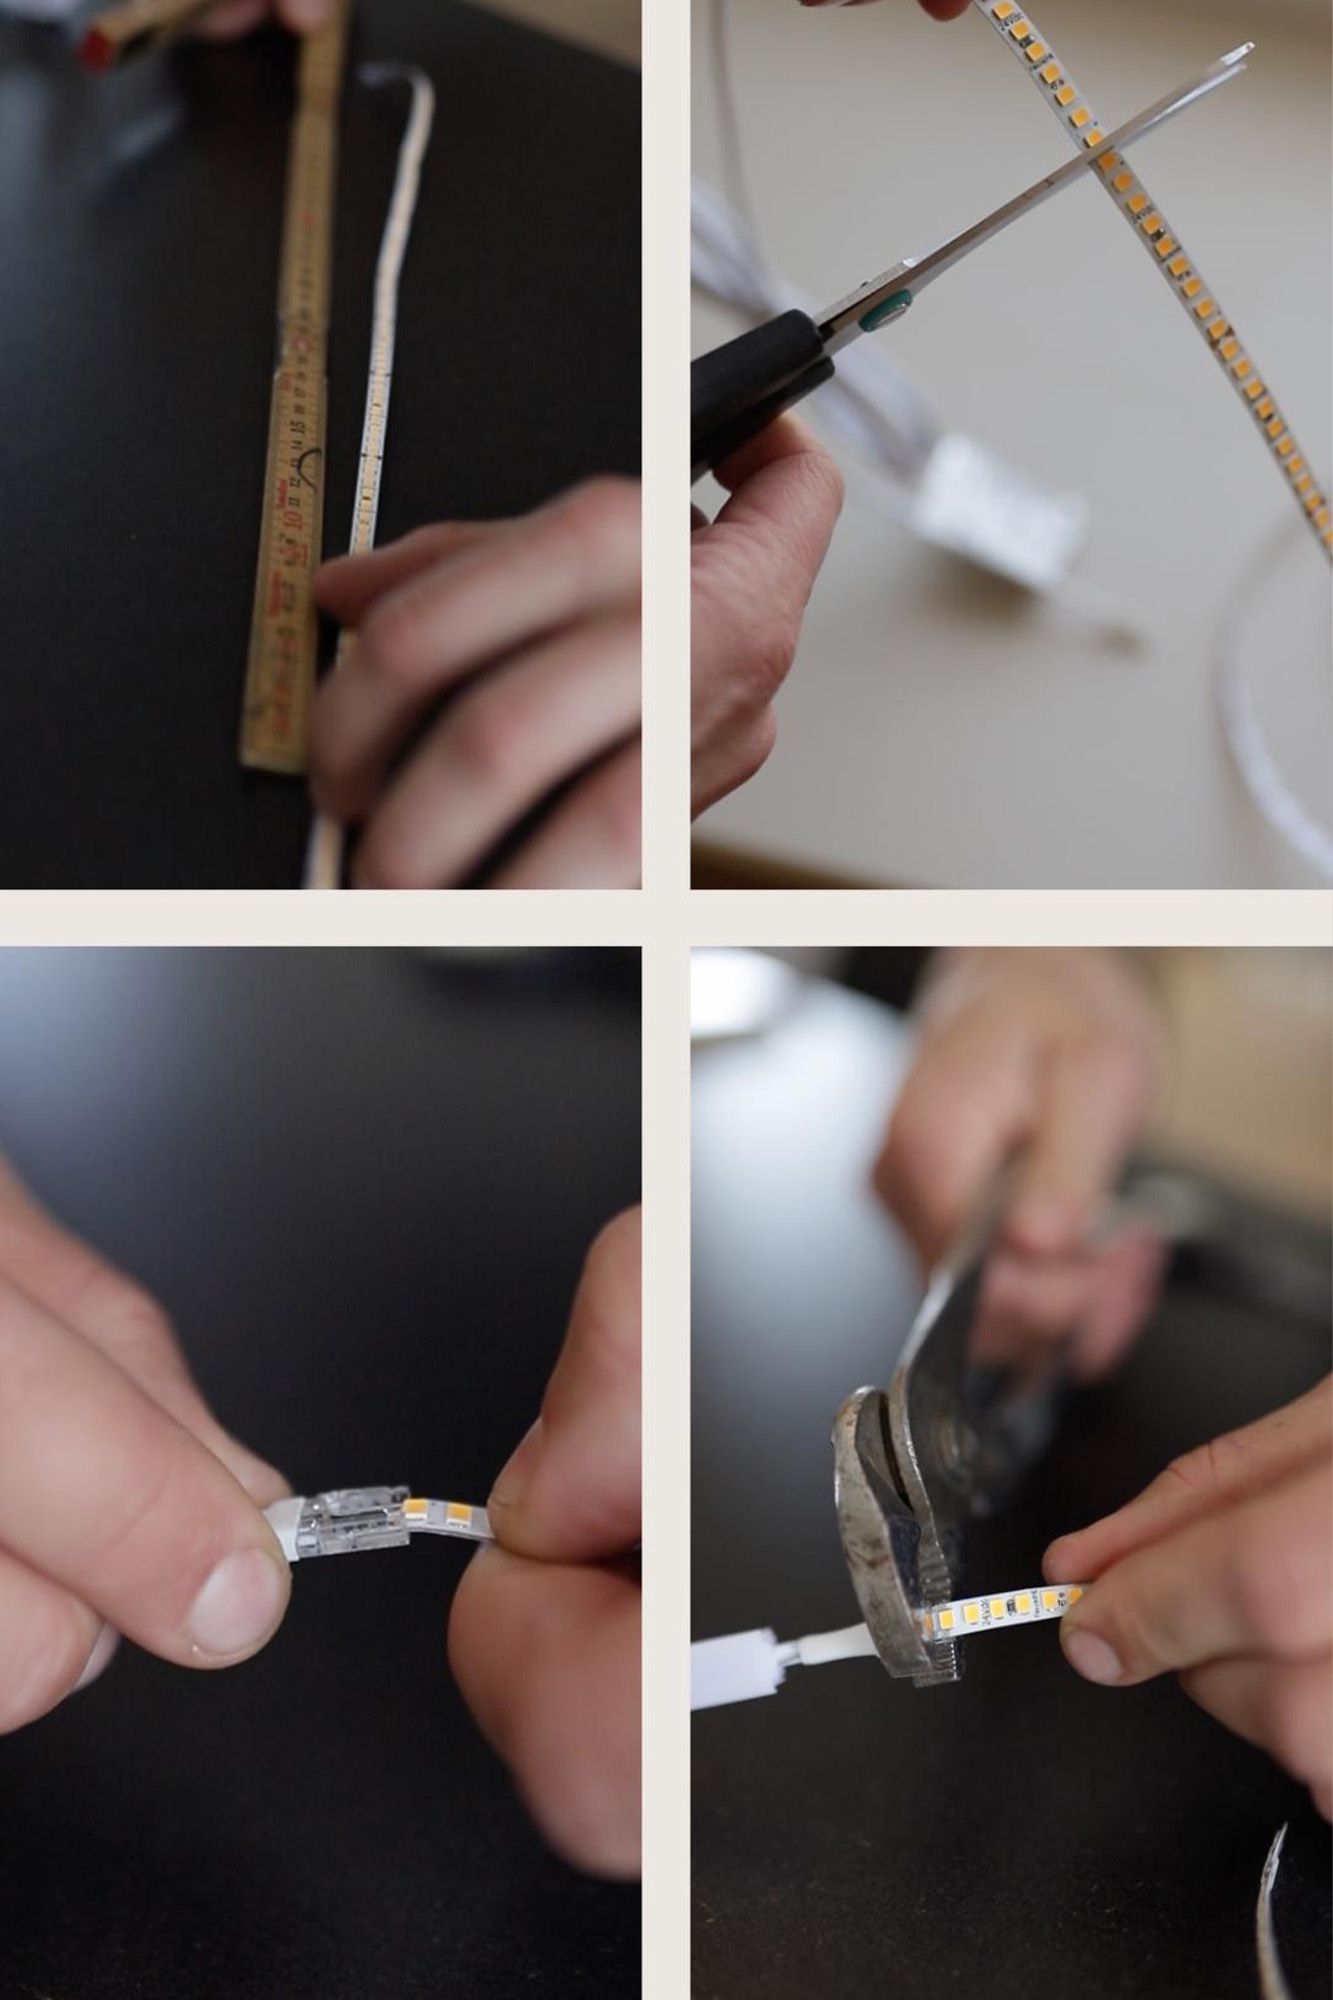
1. Determine the length: Measure and cut the aluminum profile and LED strips to the correct length.
2. Connect the sensor: Attach the motion sensor to the LED strips for automatic lighting when the closet door opens.
3. Complete with end caps: Place the end caps on the profile.
4. Mount the profile: Attach the aluminum profile with the mounting clips in the closet.
5. Attach the LED strips: Mount the LED strips in the profile using its double-sided tape.
6. Connect to power: Plug the cable into the driver, which is then connected to the wall outlet.
7. Attach the diffuser: Secure the glare shield to the aluminum profile.


All items that Josefine used for the closet lighting:
- LED-profile Nexus, aluminium
- Diffuser Nexus, surface mounted
- PIR-sensor Nexus
- End caps Nexus, surface mounted aluminium
- LED-strip Flexyled SHEP6B EVO
- Driver UltraThin, 24V/12W

The installation of Nexus can vary. The above shows how Josefine chose to do it. Here, we offer a more detailed guide for configuring and mounting the Nexus LED profile.


Dela inlägget

More inspiration

The timeless kitchen in the Båstad villa with knob T Oliver

The timeless kitchen in the Båstad villa with knob T Oliver

Step into the bright and elegant kitchen in the Båstad villa. The custom-built kitchen combines Scandinavian minimalism with sophisticated design and carefully selected, timeless details. The kitchen, from Lergöken, is elevated to new heights with the introduction of Knob T Oliver. With its nickel-plated finish and unique oval shape, Knob T Oliver becomes a design element that completes the look and adds an even more refined and stylish touch to the kitchen.
New Colors from Toniton x Beslag Design

New Colors from Toniton x Beslag Design

Beslag Design’s collaboration with Toniton continues – now with updated colors for our popular kitchen and cabinets handles. Discover the new colors Ash Green, Deep Blue, Reddish Brown, and Greige, designed to seamlessly pair with kitchen cabinets, faucets, wood finishes, tiles, and other interior elements in matching colors and materials.